What Cricut mat to use for glitter cardstock? If you’re looking to add a little sparkle to your next project, you’re in luck! Glitter cardstock is a great way to add some pizzazz, and there are a few things you should know about working with it. And first, you’ll need to choose the right Cricut mat for the job.
Plus, if you’ve ever worked with glitter cardstock, you know it can be a bit of a pain. The glitter tends to fall off, and get everywhere, leaving your project and mat covered in glitter, which can be quite frustrating. But with the right tools, you can successfully cut glitter cardstock with your Cricut.
In this article, I’ll show you what Cricut mat to use for glitter cardstock, so you can make your projects look their best and how to clean and take care of it afterward.
What Cricut mat to use for glitter cardstock?
If you’re looking to cut glitter cardstock with your Cricut machine, you’ll need to choose the right mat to ensure smooth cutting and easy removal of the material from the mat.
The type of mat you use will depend on the thickness of your cardstock:
- For thin glitter cardstock, use the Light Grip mat.
- For medium-weight glitter cardstock, use the Standard Grip mat.
- And for heavy glitter cardstock, use the Strong Grip mat.
Use the blue LightGrip mat for lightweight glitter cardstock

If you’re working with thin glitter cardstock but hate how easily it tears when you’re removing it from the mat, then you need to check out the blue LightGrip Cricut mat.
This mat is specifically designed for working with lightweight or delicate materials like vellum, thin paper, glitter paper, or thin glitter cardstock, so you can cut them without worrying about tearing or creasing.
It’s covered with a special adhesive that grips light materials securely, so you can cut them with precision, but easily releases them when you remove them, preventing any damage.
Plus, it’s self-healing, so any cuts you make will quickly disappear.
Use the green StandardGrip mat for medium-thick glitter cardstock
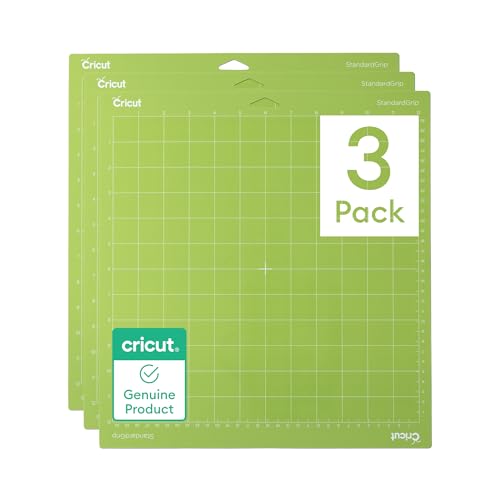
If you’re using Cricut to cut medium-thick glitter cardstock, you’ll need to use the green StandardGrip mat.
It’s designed for materials that are a bit thicker than regular paper.
This mat has a stronger adhesive grip that can hold stuff like construction paper, cardstock, and vinyl in place while you cut it, without it slipping or moving around.
It’s also easy to clean and reuse, so you can get the most out of your Cricut.
Use the purple StrongGrip mat for heavier glitter cardstock
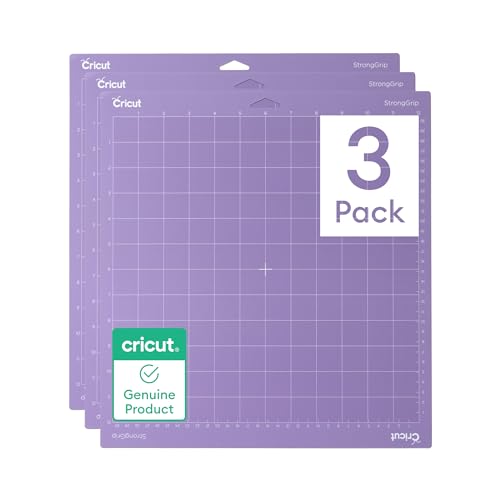
If you’re looking for a way to cut heavy materials with your Cricut machine, you’ll need to invest in a StrongGrip mat.
This mat is specially designed for use with heavy materials, like poster board, wood, genuine leather, and even metal.
It’s made with a high-tack adhesive that can hold up to three times the weight of the standard mat, so it can handle even the thickest glitter cardstock with ease.
In fact, this is the best mat for most glitter cardstock, since the majority of it is quite heavy.
Use the special Joy Card Mat for making glitter cardstock cards with Cricut Joy
Making greeting cards is a fun and easy way to show your loved ones how much you care.
And what better way to show your creativity than to make your own cards using Cricut?
If you’re looking for a way to make beautiful, professional-looking folded glitter cardstock cards at home, you need to check out the Cricut Joy machine and its own Cricut Joy Card Mat.
A Cricut Joy is a great tool for making all sorts of cards, including folded cards. All you need is a card mat and some cardstock, and you can create beautiful, one-of-a-kind cards in minutes.
The Cricut Joy can cut cards up to 4.25″ x 5.5″ in size.
The Joy mat is specifically designed for making folded cards, and it’s so easy to use! Plus, the results are stunning.
Basically, only the pink Fabric mat shouldn’t be used with this kind of cardstock
If you’re a Cricut fan, you know that the Fabric Cricut mat should not be used with glitter cardstock.
The fabric mat is a separate mat for cutting fabric, with or without batting or backing.
Loose glitter can ruin it and make it unusable for cutting fabrics.
You’ll need to use one of the other Cricut cutting mats for glitter cardstock.
If you’re not sure which Cricut cutting mat to use for your project, you can always consult the Cricut compatibility chart. It will tell you which materials are compatible with which Cricut machines and cutting mats.
How to cut glitter cardstock on a Cricut mat
If you’ve ever tried to cut glitter cardstock with a Cricut machine, you know it can be a real pain.
The glitter gets everywhere and the cuts are often off.
But with a few simple tips, you can cut this unique substrate like a pro:
- The first is selecting the right type of blade.
For best results, with thin cardstock use the Fine Point blade. This will help to prevent the cardstock from tearing.
The best blade to use when cutting thicker glitter cardstock with a Cricut machine is the Deep Cut Blade.
This blade is designed to cut through heavier materials with ease.
- Next, you’ll need to use a mat with the appropriate grip to prevent the cardstock from sliding around.
- Finally, you may also need to use the Multi cut setting to make several passes to cut thick glitter cardstock.
Follow these steps to cut the cardstock:
- Load the glitter cardstock on the mat face up and into the cutting machine.
- Choose the desired shape or design or create one in Cricut Design Space.
- Adjust the size of the shape or design as needed.
- Select the “Glitter Cardstock” setting from the material settings menu.
- Adjust the settings as needed to suit your cardstock better, if necessary.
- Press the “cut” button to begin cutting the cardstock.
The Cricut will cut through the glitter cardstock slowly and carefully, resulting in a perfect cut every time.
Glitter cardstock face up or down?
When cutting glitter cardstock with a Cricut, be sure to place the cardstock face up on the cutting mat.
This will prevent the glitter from sticking to the mat and contaminating it, making it difficult to use for other projects.
Why is my Cricut not cutting through glitter cardstock?
If you’re having trouble getting your Cricut to cut through glitter cardstock, you’re not alone. Many crafters have this issue, but there are a few things you can do to fix it.
- First, make sure that you’re using the correct blade.
The standard Fine Point blade that comes with your Cricut machine is not meant for cutting heavy glitter cardstock.
If your material is thick you’ll need to purchase the Deep Point blade, which is specifically designed for cutting thicker materials.
- Once you have the correct blade, make sure your blade is sharp.
- In addition to that, inspect the blade and its housing for debris and remove them as needed.
- You may also need to increase the pressure settings on your Cricut.
The machine will need to apply more pressure to cut through the glitter cardstock.
- If all else fails, use the Multi-Cut setting to add passes for the blade to cut through completely.
- If you’re still having trouble, try scoring the cardstock before you try to cut it.
This will help the blade to penetrate the material more easily.
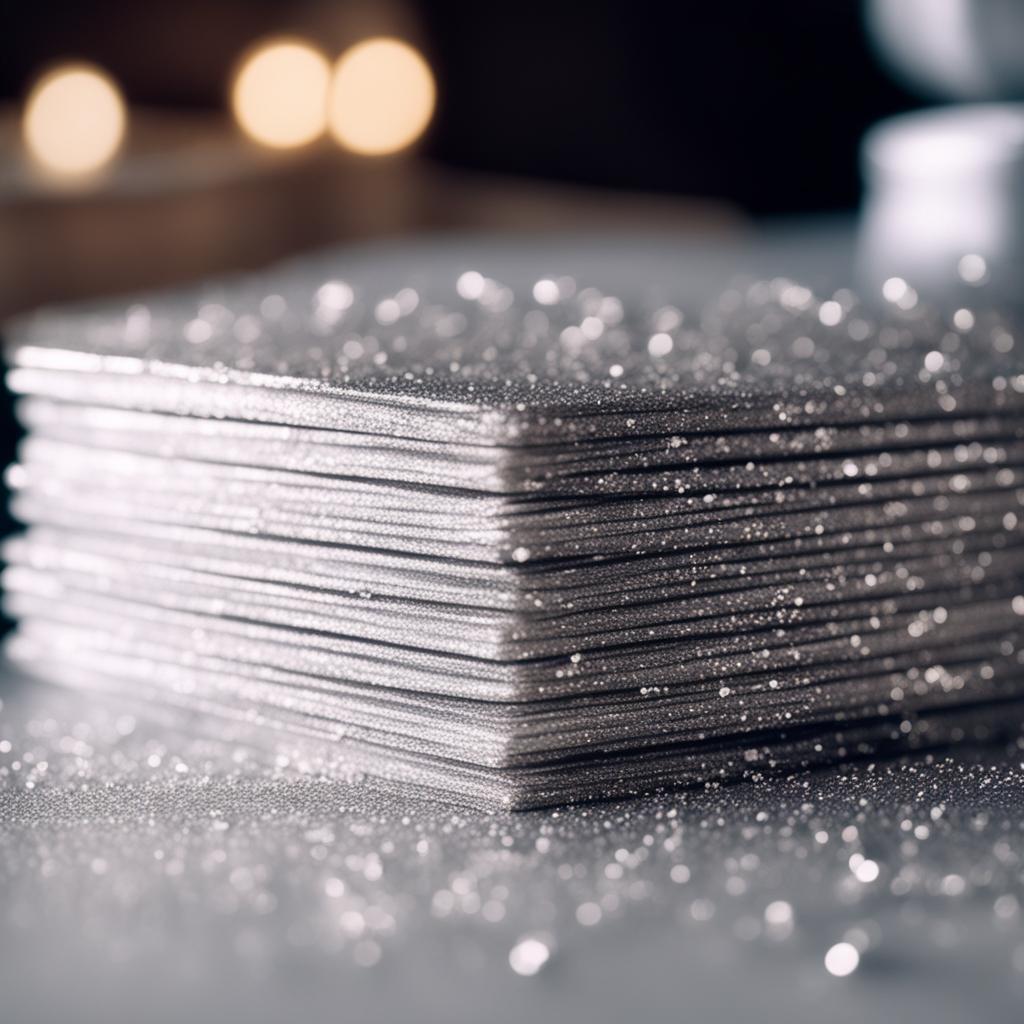
How to clean a Cricut mat from loose glitter
If you’ve ever cut glitter cardstock with a Cricut machine, you know that it can be a bit of a pain to clean up afterward.
The glitter tends to shed and seems to get everywhere, and it can be tough to get it all off your cutting mat.
Here are a few tips to help you clean up your mat from all that pesky glitter:
- First, remove the mat from the Cricut machine and place it on a flat surface.
- Next, take a scraper and gently scrape away any large loose glitter pieces or scraps of glitter cardstock from the mat.
- Use a sticky lint roller or a piece of tape to remove any remaining glitter.
- Alternatively, you can just use a lint roller or a piece of tape to remove the majority of the glitter instead of a scraper.
- Once all of the loose glitter has been removed, use a wet wipe or a damp cloth to wipe down the mat and get rid of any leftover residue.
- Finally, pat dry the mat with a clean paper towel.
And that’s it! With these simple steps, you should be able to easily clean up your Cricut mat from any loose glitter.
Glitter cardstock project ideas
Glitter cardstock is a great material to work with because it’s so beautiful and versatile — you can use it to make cards, scrapbook layouts, party decorations, and more.
Plus, the Cricut machine makes cutting it so much easier, that you’ll be able to finish your projects quickly.
Here are a few ideas to get you started:
- Make a glittery birthday card by cutting shapes out of glitter cardstock and attaching them to a plain card base.
- Cut out letters or numbers from glitter cardstock and use them to decorate a scrapbook layout or birthday party table.
- Make some pretty gift tags by cutting out shapes from glitter cardstock and attaching them to regular paper tags.
- Cut out basic shapes to use as embellishments on other projects.
- Make 3D objects by layering and cutting different colors of glitter cardstock.
- Create gift tags or labels by cutting out letters or shapes.
- Decorate a notebook or journal with glittery cutouts.
- Make homemade invitations with glittery accents.
In conclusion, Cricut makes great machines, and their products are always innovative and define new industry standards. Glitter cardstock is exciting because the possibilities are endless.
When cutting this gorgeous material, make sure to choose the right mat for it depending on its thickness and you’re good to go.