Have you tried using infusible ink to create awesome designs on items like t-shirts, mugs, and coasters? It’s a fantastic way to make your creations pop with vibrant colors that last a long time. But, one common issue with this material is having to weed the infusible ink design to remove any unwanted parts and clean up the lines.
I’ve put together some tips and tricks to help you weed infusible ink designs like a pro. Get ready to create flawless transfers every time!

What is weeding infusible ink?
Infusible ink is a special type of ink available in the form of sheets that you can cut with your Cricut.
When heated, it bonds permanently to the fibers or surface of your project.
This creates a vibrant and long-lasting transfer.
An infusible ink sheet consists of a liner layer and the ink layer, which is where your design is cut.
Weeding involves removing the unwanted parts from the ink layer.
This only leaves the pieces of your design that you’re going to transfer to your project.
If you don’t weed the ink properly, you may end up transferring the parts you wanted to discard onto your final project.
Or you may accidentally remove some elements of your design that you actually wanted to keep.
And since the ink is permanent, any mistakes will be permanent as well, which can ruin the overall look and composition.
Weeding infusible ink can be a bit tricky.
Especially if you’re working with intricate and complex designs or letters.
However, with the right tools and technique, you can weed your ink like a pro and create a clean and beautiful transfer.
How to weed infusible ink
I’ve tested a few different methods for weeding infusible ink, but I’ve found that the popular “cracking” method works best.
It’s also the main method that’s recommended by Cricut:
- To start, once your design is cut, flip the mat over and roll it away from the infusible ink sheet.
- Then, use your fingers to weed the design, slightly bending and rolling the cut parts of the transfer ink sheet to pull them away from the liner.
- As you weed, you’ll hear a light cracking sound as the cut lines separate.
- Don’t worry if the design lifts off the liner a bit — just press it back gently and carefully.
Here’s the info about this method in more detail:
Don’t use the weeding tool for infusible ink
One thing to keep in mind when weeding infusible ink is to avoid using the weeding tool.
If you use this metal hook you can accidentally press small particles of infusible ink back into the liner.
This will stain the liner around your design, which can contaminate the transfer.
So instead, use your fingers for weeding larger parts of the design.
Plus, you can use precision tweezers for any stubborn small pieces that you can’t remove with your hands.
Tools and supplies you’ll need for weeding infusible ink
Here’s a closer look at tools and supplies that you can use when weeding infusible ink transfer sheets.
1. Your own hands.
First off, using your fingers to weed infusible ink is the most basic and popular method.
Gently bend and roll the cut transfer sheet with your hands, pulling the unwanted cut ink away from the liner as you go.
2. Tweezers.
Tweezers are a good option for more intricate and detailed designs, and for removing small or stubborn pieces.
This tool allows for more precision and control than when you’re only doing all the weeding with your bare hands.
However, you do need to be careful not to accidentally scratch or damage the transfer sheet with the tips of the tweezers.
3. You don’t need a weeding tool.
A weeding tool is a small, pointed hook that’s specifically designed for weeding vinyl and other materials.
While it may seem like a good option for weeding infusible ink, it’s actually not recommended.
As I’ve already mentioned above, using this tool can cause small particles of infusible ink to stain the liner around your design.
And your transfer will have unsightly inclusions.
4. Good-quality infusible ink transfer sheets.
These are the sheets that you’ll be cutting and weeding to create your design.
So you’ll need to choose ones that are easy to use.
I recommend Cricut brand infusible ink, of course.
These inks come in a variety of colors and patterns and are always high-quality.
5. Cutting machine.
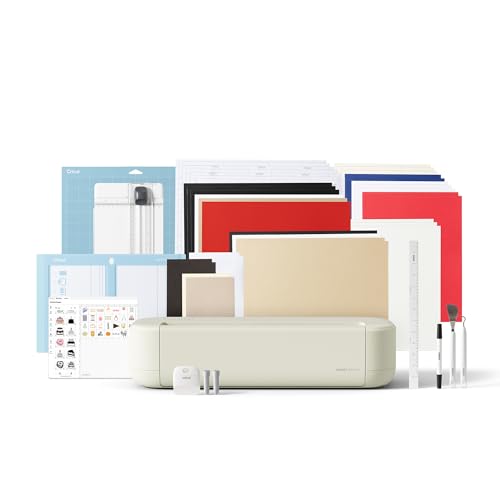
A cutting machine, such as a Cricut or Silhouette, is also an important part of the process.
You’ll use it to kiss-cut your designs on transfer sheets to be able to easily weed infusible ink later on.
Keep in mind that you can’t cut infusible ink with a knife or scissors because you won’t be able to create a kiss cut by hand.
6. Cutting mat
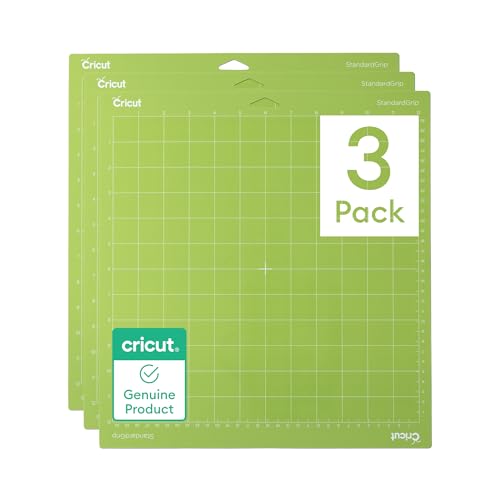
A Cricut cutting mat is used to hold the infusible ink transfer sheet in place while it’s being cut by the cutting machine.
It must also release it easily when you’re done.
For cutting ink sheets, Cricut strongly suggests using the StandardGrip mat.
How to weed infusible ink step-by-step
Here’s a step-by-step guide on how to weed infusible ink transfer sheets:
- Begin by cutting your design into the infusible ink transfer sheet using a cutting machine.
- Once the design is cut, flip the mat over so that the sheet is facing down.
- Remove the mat by rolling it away from the sheet’s liner.
- Flip the sheet over with the ink layer facing up and place it liner side down on a table or a stable flat surface.
- Begin by manually weeding the design using your hands.
- Slightly bend and roll the cut ink layer, pulling it away from the liner. You’ll hear a light cracking sound as the cutting lines separate.
- Be sure to weed slowly and carefully to avoid damaging the design.
- As you weed, the unwanted part will separate from the liner and you can remove it.
- Some parts of the actual design may shift off the liner a bit, but don’t worry, it’s fixable.
- Gently and carefully press the design back onto the liner.
- If there are any stubborn small pieces that won’t come off when you’re using your fingers, you can carefully remove them with tweezers.
- Just avoid scratching or damaging the ink with the tips of the tweezers.
- Once the design is fully weeded, it’s ready to be transferred onto your project.
- Follow the instructions on the packaging of your infusible ink transfer sheet for the best results.
And that’s it!
At first, weeding infusible ink transfer sheets can be quite intimidating.
But with a bit of practice and patience, you’ll be creating beautiful custom designs in no time.
Do I need any special tools to weed infusible ink transfer sheets?
No, just use your hands.
You don’t need any special tools.
However, tweezers (optional) can be helpful for removing small or stubborn pieces of the design.
How do I know if I’m weeding correctly?
You’ll hear a light cracking sound as the cutting lines separate.
Plus, the unwanted part will get off from the liner without pulling the design away with it.
Can I reuse infusible ink transfer sheets after I’ve weeded them?
No, once you’ve weeded the design, the transfer sheet can’t be reused anymore.
Always cut and weed only what you need for your project to avoid wasting materials.
What should I do if I accidentally weed part of my design that I didn’t mean to?
If the detail has slightly lifted off the liner, you can still push it back gently.
However, unfortunately, once you’ve weeded a part of the design completely away, you can’t put it back.
But you can try to salvage the design by cutting and weeding a new piece of transfer sheet and carefully lining it up to fill in the missing area.
I hope that with these tips, you’ll be able to create incredible infusible ink projects in no time!