Cricut Joy is a great little machine. It’s perfect for cutting vinyl, paper, and cardstock but can it cut wood? Let’s find out!
We’ll also explore how to use the Cricut Joy in wood projects. If you want to learn more about crafting with wood and the Joy, this is the post for you!
Can Cricut Joy cut wood?
Cricut Joy is a cutting machine that is perfect for cutting a pretty large variety of materials. It can cut paper, vinyl, cardstock, and even faux leather.
But can it cut wood?
The answer is no, it cannot.
Cricut Joy is ideal for cutting light materials, but it is not designed for cutting wood.
However, there are a few ways to use Cricut Joy creatively for your wood DIY projects.
Reasons why Cricut Joy can’t cut wood
Since its release, the Cricut Joy has been a popular cutting machine for crafters.
It’s small and compact, making it easy to take with you on the go but it’s not too powerful.
Plus, it’s only compatible with its own Cricut Joy blade.
While this blade is an all-purpose tool that can be used for a variety of materials, it, unfortunately, cannot cut wood.
This is because the Cricut Joy is identical to the Cricut Fine Point blade that is designed for use with thinner stuff and wood is just too thick and dense for this blade to cut through.
If you try to cut wood with the Cricut Joy blade, it will damage the blade and your design will not be cut correctly.
This means that if you’re looking to cut wood with Cricut, you’ll need to invest in another cutting machine that is compatible with a heavy-duty cutting blade, such as the Deep Point or the Knife blade.
These blades are designed to cut through tougher materials, like wood, leather, or chipboard, and will give you a clean cut every time.
The Deep Point Blade can cut through thinner woods, up to 1.7 mm, while the Knife Blade is best for thicker substrates, up to 2.4 mm.
The Deep Point blade is compatible with both the Cricut Explore and Cricut Maker machines. However, the Knife blade is only compatible with the Cricut Maker machine.
What materials can Cricut Joy cut?
Cricut Joy can cut a more limited list of materials than Cricut Explore or Maker.
This is because Cricut Joy is designed to be a more budget-friendly option for those who want to try their hand at machine cutting.
However, it can still cut a lot of different stuff, including everything from cardboard and poster board to cardstock and vinyl.
And with the addition of party foil and window film, you can take your projects to the next level!
With its mini cutting mat and limited cutting area, Cricut Joy is a great choice for small projects or for people who are new to crafting with a Cricut machine.
Looking to get the most out of your Cricut Joy? Check out this list of materials that the Joy can cut:
- Cardboard, poster board, art board.
- Cardstock, including glitter cardstock.
- Iron on materials like mesh and sport flex.
- Paper-thin faux leather (not thick natural leather).
- Different kinds of paper.
- Foil acetate.
- A huge variety of types of vinyl.
- Party foil.
- Window cling.
How can I use Cricut Joy to cut projects involving wood?
Do you still want to use Cricut Joy for wood crafts? You’re in luck!
Even though the Joy can’t cut wood, it can cut stencils and wood grain vinyl.
So you can easily add custom designs to your signs, furniture, and other items to make them stand out.
With a little bit of creativity, you can use your Cricut Joy to create beautiful wood signs and decorations. Here’s how:
1. Use Cricut Joy to cut wood grain vinyl
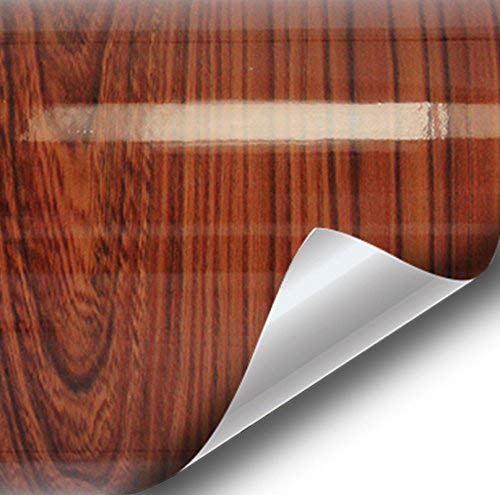
Cricut Joy can cut wood grain vinyl to imitate the look of wood for your craft projects, and it’s so easy to use!
You’ll be able to add a beautiful wood grain finish to anything in no time and create some stunning home decor items.
Wood grain vinyl is easy to use and can be cut to any size or shape you need.
If you’re looking for some fun and creative wood grain vinyl craft projects to do with your Cricut cutting machine, here are some great ideas to get you started:
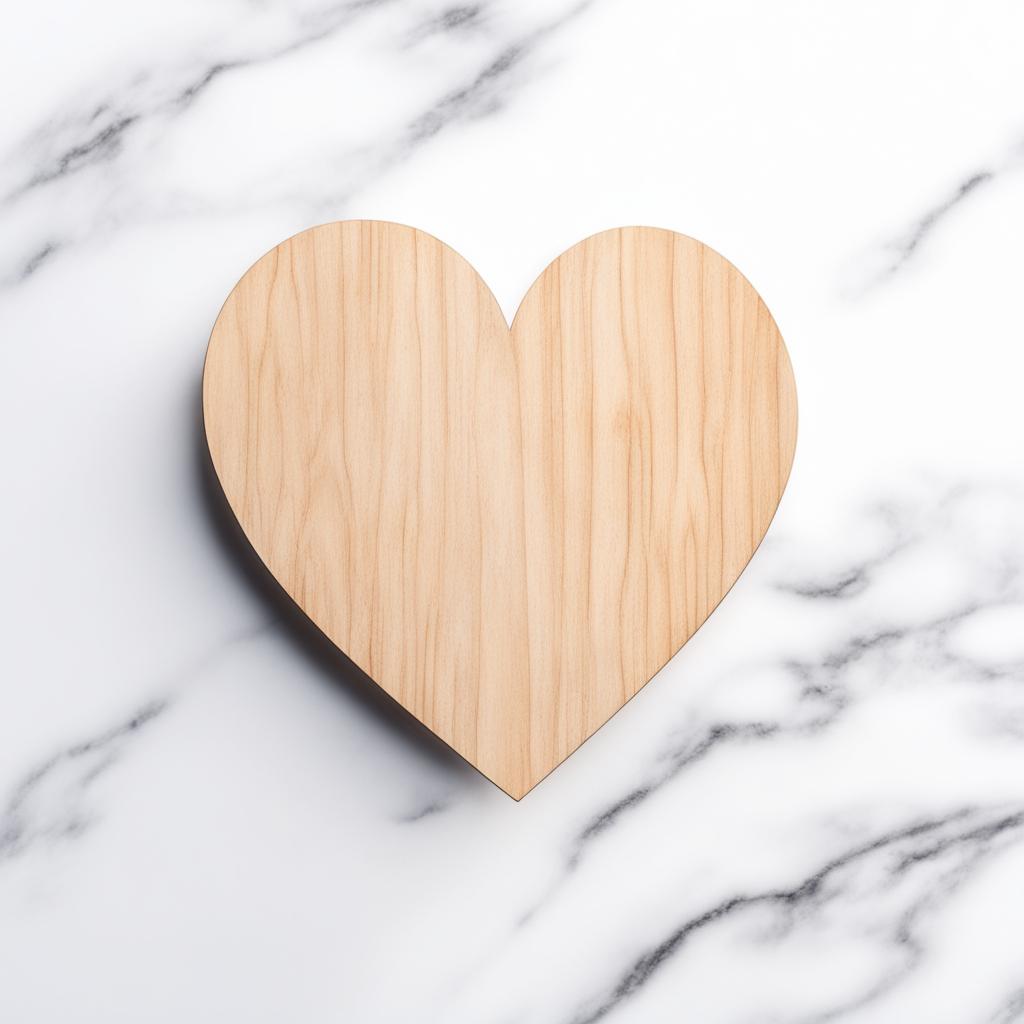
- Make some unique and stylish coasters for your home or as a gift for someone special.
- Create a one-of-a-kind wall clock using wood grain vinyl and your Cricut machine.
- Make some cute and trendy t-shirts, tote bags, or other apparel items using heat transfer wood grain vinyl and your Cricut machine.
- Decorate your home with stylish and unique wood grain vinyl decals.
- Make a stunning and original wood-grain vinyl scrapbook album.
- Creating wood-grain vinyl car decals is a great way to show off your personality and style.
- Make wood grain vinyl Valentines for your friends or loved ones.
- Create beautiful and unique wood grain vinyl Christmas ornaments.
- Make wood-grain vinyl fall decor for your yard or patio area.
- Make wood grain vinyl door accessories to brighten up your home and add some personality.
2. Use Cricut Joy to cut stencils to use for painting on wood
If you’re looking for a way to spruce up your home decor, consider using Cricut Joy to cut custom stencils for wood signs or furniture.
Plus, Cricut Joy is easy to use and doesn’t require a lot of materials, making it a great option for those who are new to stenciling.
I’ve used Cricut Joy to cut stencils for both personal and professional projects.
If you’re looking for the best material to make stencils for wood with the Joy, you should consider using Cricut or Siser removable vinyl.
Removable vinyl is great to work with because it’s easy to cut and can be removed from the stenciled surface with no residue.
Plus, it produces clean, crisp lines when cut with a Cricut machine, so you’ll be able to create perfect stencils every time.
Cricut Joy Smart removable vinyl for long stencils you can use on wood
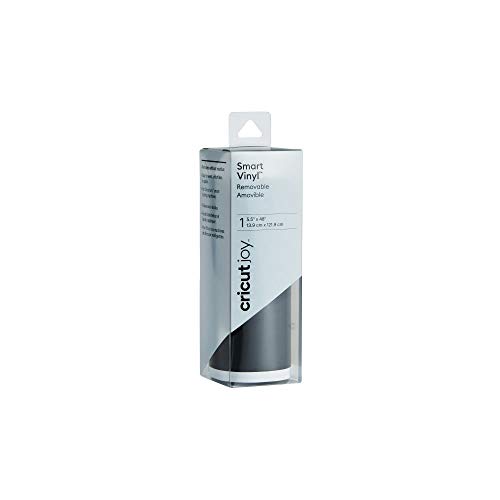
Cricut Joy is small and portable, making it easy to use and store. However, one of the best features of this machine is its ability to cut long lengths of material.
It’s designed to cut small images up to 4.25 inches x 6.25 inches with a standard mat or 4.25 inches x 11.75 inches with a longer mat, but it can also cut lengthwise up to 4 feet in a single pass if you use Cricut’s line of smart materials, including removable vinyl, which comes in 3 ft rolls.
This makes it perfect for projects that require longer cuts, such as lengthy stencils, banners, or signage.
Plus with Smart Vinyl you don’t even need a mat because it has a special backing that allows you to feed it directly into the machine.
I was excited to see that Cricut released a line of smart materials specifically for Joy!
These materials are the perfect width for the Cricut Joy, so you can cut them without having to trim them down.
Stenciled wood project ideas
You can use Cricut Joy to cut out stencils of any shape and a large variety of sizes to create unique designs.
Here are a few ideas for craft projects you can make from wood using vinyl stencils cut with Cricut Joy:
- Wooden signs: use stencils to paint inspirational quotes, your family name, or a favorite saying onto a piece of wood. You can create custom signs for your home, office, or as gifts.
- Wall art: cut out different shapes and sizes of stencils to create a one-of-a-kind piece of wooden art for your home. Cut out your favorite quotes or sayings and add them to your walls.
- Decorative boxes: personalize plain wooden boxes with stenciled designs to use for storage or decoration.
- Jewelry: create custom pendants, earrings, or bracelets by cutting out shapes from wood and decorating them using small vinyl stencils.
- Coasters: protect your surfaces and add a personal touch to your home
- Home decor: make holiday ornaments, indoor signs, planters, and other home decor items.
- Gifts: personalized gifts are always appreciated. Make something special for your friends and family.
3. Use Cricut Joy to cut permanent or heat transfer vinyl for decorating your wood projects
Even though Cricut Joy can’t cut wood or cut as large as a traditional Cricut machine, it is still a powerful little device that can be used to cut permanent adhesive or heat transfer vinyl to decorate wood signs, coasters, or furniture.
With a little bit of planning and creativity, you can transform any boring piece of wood into a work of art.
It’s a great way to add a personal touch to your home or outdoor decor, and it’s a lot easier than you might think.
When crafting with your Cricut machine, it is important to use the correct type of vinyl to ensure your project turns out the way you want it to.
The two main types that would work on wood and create a long-lasting decoration are permanent adhesive vinyl and heat transfer vinyl.
Permanent adhesive vinyl for wood

If you need a durable decal for wood with a glossy finish, you need permanent adhesive vinyl (not removable vinyl).
This type of vinyl is made to withstand the sun, wind, and rain, making it perfect for both indoor and outdoor use, and great for areas that need to be waterproof and weatherproof, like yard signs.
Cricut permanent vinyl has a stronger adhesive that will hold up against wear and tear, making it ideal for projects that will be handled a lot, like trays or coasters.
Plus, its glossy sticker finish will make your decals stand out.
Permanent Adhesive Vinyl for Cricut Joy is also available as a smart material with a length of 3 ft.
This product is perfect for crafters who want to create large-scale wooden objects.
Heat transfer vinyl for wood

Are you looking for a unique way to spruce up your home decor? If so, you may also want to consider using Cricut heat transfer vinyl (HTV).
This vinyl material can be cut into any shape or design that you desire and then applied to your wooden surface using heat.
Once applied and heat-pressed, the vinyl will bond with the wood and create a painted-on look.
How to make permanent vinyl stick to wood?
How do you stick HTV to wood?
It’s a pretty simple process, but you may need to prep your wood surface first.
Untreated wood surfaces work well but you may need to sand down and treat the wood to create a smooth, even surface.
- If your wood is rough or uneven, sanding it down will create a nice and professional-looking finish.
Plus, it will help the vinyl adhere better, preventing it from peeling up later.
For best results, use fine-grit sandpaper and sand in the direction of the grain.
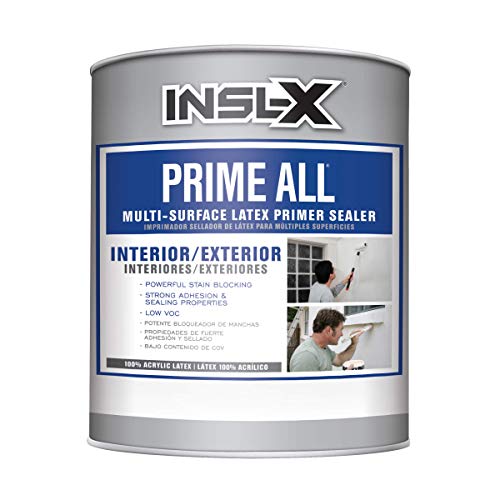
- You may also need to treat the untreated wood with a coating or primer.
This will also help the vinyl bond to the wood and make it last longer.
You can use a clear coating or primer, or you can apply paint that will complement the color of the vinyl.
- Another option is to use a spray adhesive. This can be a bit tricky, so be sure to follow the directions carefully.

If you’re using a spray adhesive, you’ll need to be careful not to get the adhesive on anything else.
It’s also important to make sure that the wood is completely clean before you start spraying.
Don’t forget to work in a well-ventilated area.
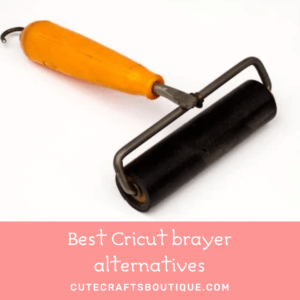
- Once your wood surface is prepped, simply apply the transfer tape to your permanent adhesive vinyl and stick it to the wood.
Carefully position your vinyl design on the surface.
Press it down firmly to ensure it stays, gently smooth it out, peel away the transfer tape and you’re done!
- If your vinyl still isn’t sticking you can try to use a different transfer tape.
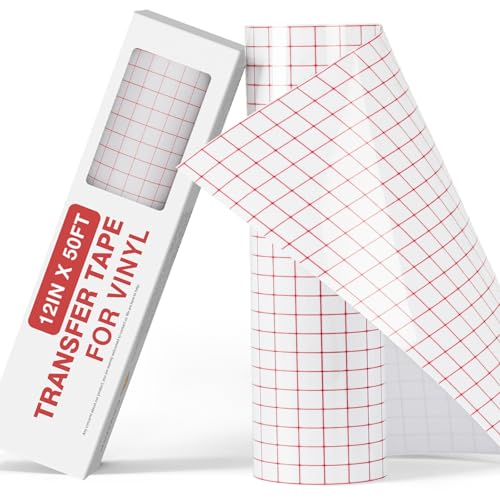
This type of tape is specifically designed for use with vinyl and will help to ensure that your design is transferred correctly.
- If you want to add a little bit of extra protection to your vinyl, you can seal it with a clear sealer.
This is especially helpful if your vinyl is exposed to sunlight.
How to stick HTV vinyl to wood
Here’s how to stick heat transfer vinyl to wood using an iron:
- Start by sanding the wood to create a smooth, even plane.
- Cut out your vinyl design using Cricut.
- Place the vinyl design on the wood surface.
- Cover the HTV graphic with a non-stick Teflon sheet to protect the design and the press/iron.
- Use a hot iron or Cricut EasyPress to press the vinyl design onto the wood surface.
- Allow the design to cool for a few minutes.
- Carefully peel off the Teflon sheet and the vinyl carrier sheet.
- Enjoy your new vinyl design!
Cricut Joy permanent adhesive vinyl on wood projects
There are many different craft projects you can do using Cricut vinyl to decorate wood. For example, you can make signs, wall art, ornaments, and much more.
If you want to get creative, you can even add some paint or other embellishments to your wood projects.
Here are a few fun ideas for craft projects using Cricut Vinyl to decorate wood:
- Make a personalized sign for your front door or porch using your favorite quote or design.
- Create beautiful wooden coasters for your coffee table or bar using intricate designs or fun patterns.
- Decorate a plain wooden jewelry box with a pretty floral design or your initials.
- Make a set of matching placemats made from thin wood for your dining table using festive vinyl designs.
- Transform an ordinary wooden picture frame into something special by adding unique graphics or embellishments made from vinyl.
- Make a wall hanging or a piece of art using Cricut vinyl and a piece of wood.
- Personalize a wooden cutting board or serving tray using Cricut vinyl.
These are just a few ideas — get creative and see what you can come up with!
Cricut joy HTV vinyl on wood project ideas
By using heat transfer vinyl, you can create a painted-on look that is unique and stylish.
Here are a few ideas to get you started:
- Create a sign or piece of wall art using heat transfer vinyl and wood.
- Make a unique and stylish clock by using heat transfer vinyl to create numbers or other design elements on wood.
- Use heat transfer vinyl to create a one-of-a-kind serving tray or cutting board.
- Personalize a piece of furniture by using heat transfer vinyl to create a “painting” on the wood.
So, get creative and have fun with your heat transfer vinyl projects!
How to cut wood grain or permanent adhesive vinyl with Cricut Joy
- To cut permanent vinyl with Cricut Joy, first load the vinyl onto the green StandardGrip cutting mat.
- Select the “Premium Vinyl- Permanent setting in the Cricut Design Space.
- Then, use the software to select the desired design for your vinyl.
- Once you have your settings finalized, press “Go” and wait for the Cricut Joy to finish cutting your vinyl.
- Once the design is cut, remove the excess vinyl from around the design.
- Next, apply transfer tape to the vinyl design.
- Then, position the vinyl design on the wood surface and apply pressure to adhere the vinyl to the wood.
- Use a credit card or similar object to smooth out any bubbles.
- Finally, remove the transfer tape.
How to cut a vinyl stencil with Cricut Joy?
To cut a vinyl stencil for painting wood with a Cricut Joy, follow these steps:
- First, select the design you want to use in the Cricut Design Space.
- Then, resize the design to fit your wooden object.
- Next, load the vinyl onto your Cricut Joy mat and select the “Premium Vinyl – Removable” setting.
- Cut your vinyl design out with the Joy.
- Weed the vinyl design to remove any excess material.
- Place the stencil on the wooden surface.
- Use painter’s tape to secure the stencil in place.
- Paint over the stencil with your desired color.
- Carefully remove the stencil.
- Enjoy your newly painted wood surface!
How to cut HTV vinyl with Cricut Joy for use on wood
Cutting heat transfer vinyl with a Cricut Joy is a quick and easy process.
- Simply load your HTV onto your StandardGrip cutting mat shiny side (the carrier sheet side) down, select the “Iron-On” setting, and load your cutting mat into your Cricut Joy.
- Don’t forget to mirror your mat before cutting in the Design Space.
- Cut your design, then weed away the excess vinyl.
- To apply your heat transfer vinyl to wood, first preheat the surface with a heat press.
- Then, position your HTV design on the wood shiny side up and apply heat and pressure according to the HTV manufacturer’s instructions, bonding the design to the surface.
- Let your design cool before peeling away the carrier sheet.
Cricut Joy is perfect for cutting lightweight materials like paper and vinyl but it’s not meant for cutting wood.
However, with a little creativity, you can find ways to use Cricut Joy for your fun and unique wood DIY projects.