So, you’re into crafting and have heard about vinyl and Cricut machines. You’re probably wondering if all Cricut machines can cut vinyl.
The good news is that yes, all models of Cricut machines can cut vinyl! Whether you’ve got the Cricut Explore 3, Maker 3, Cricut Joy, or even one of the older models, they can all handle vinyl cutting.
But there might be some differences between the models and types of vinyl, so let’s dive deeper into vinyl cutting with Cricut.

Can All Cricut Machines Cut Vinyl?
Types of Cricut Machines
First, let’s take a quick look at the different types of Cricut machines out there.
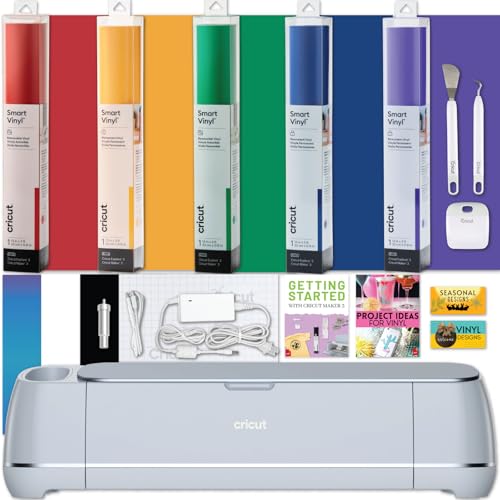
Cricut’s current line consists of Explore 3, Maker 3, and Cricut Joy, each with its own unique features.
But no worries, all of them are vinyl cutting champs!
Again, even the older models, like Cricut Explore Air 2, are up for the task.
So, regardless of the Cricut machine you own, vinyl cutting is definitely within your reach.
There are several types of Cricut machines available to cater to different crafting needs.
Here are the latest popular models:
1. Cricut Explore 3:
The Cricut Explore 3 is a versatile cutting machine that offers precision cutting for various materials, including vinyl, paper, card stock, film, and more.
With its incredible Cricut Smart matless cutting feature, this unit is capable of effortlessly handling larger projects of up to 12 feet in length.
2. Cricut Maker 3:
The Cricut Maker 3 is a powerhouse machine that provides professional-level cutting performance.
It’s equipped with more cutting tools, which let it cut, score, engrave, emboss, and more.
The Maker 3 is known for its versatility and can handle a huge array of materials.
Including vinyl, leather, balsa wood with the Knife Blade, and even fabric with the help of the Rotary Blade.
It can also cut Smart materials, including vinyl, up to 12 feet with no mat.
3. Cricut Joy:
The Cricut Joy is a compact and portable cutting machine designed for smaller projects and on-the-go crafting.
It can cut vinyl, iron-on, card stock, and smart materials up to 5.5 inches wide and 20 feet long.
The Cricut Joy is perfect for creating quick and easy personalized labels, cards, decals, etc.
Each Cricut machine offers unique features and capabilities.
When buying a Cricut for cutting vinyl, consider your specific crafting requirements and project sizes to choose the right model.
What blade do all Cricuts use to cut vinyl?
If you’re new to the world of Cricut machines and vinyl cutting, you might be wondering about the type of blade you need to use.
Well, you’ll be glad to know that all standard-sized Cricut machines use the same Fine Point blade to cut vinyl.
This means that no matter which Cricut you own, you can rest assured that the Fine Point blade will work perfectly with it.
The Fine Point is a small, sharp blade that fits into Cricut’s Clamp B.
It can cut a variety of thinner materials, such as paper, vinyl, and card stock.
This blade is perfect for intricate designs and finely-detailed cuts.
And if you’re the proud owner of a Cricut Joy, you’ll need to use the Joy-compatible version of the Fine Point blade.

This is because the Joy is a smaller unit and requires its own specially designed blade.
No matter if you’re tackling a bigger project using a large Cricut machine or a smaller one with the compact Cricut Joy, the Fine Point blade will provide the quality and precision needed to craft beautiful vinyl designs.
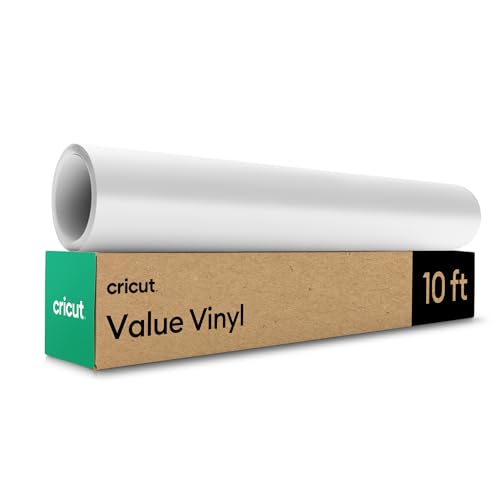
Types of vinyl that all Cricuts can cut
Cricut machines are capable of cutting various types of vinyl, each serving a specific purpose:
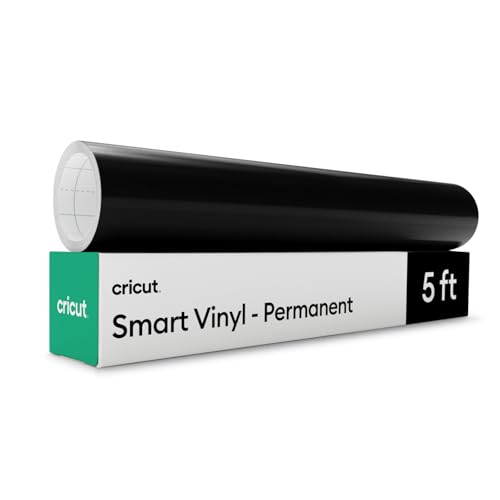
1. Permanent Adhesive Vinyl:

This type of vinyl is perfect for projects that require long-lasting durability.
It works well on outdoor surfaces or any hard surfaces where you want the vinyl to stay in place without the risk of it moving or peeling.
2. Removable Adhesive Vinyl:
If you prefer the flexibility of being able to remove or reposition your vinyl decal, removable adhesive vinyl is the way to go.
It’s great for indoor projects, such as wall decals or temporary decorations, where you may want to change or update the design later.
3. Heat Transfer Vinyl (HTV):

Heat transfer vinyl, also known as iron-on vinyl, is designed for creating customized clothing and accessories.
It’s flexible and adheres to fabric when heat is applied.
This lets you personalize garments or other textile items with unique designs or patterns.
4. Stencil Vinyl:
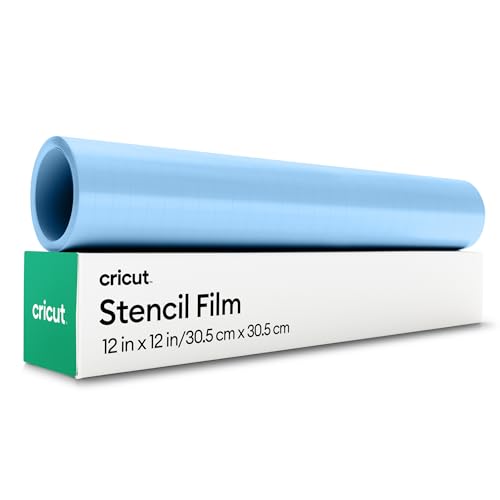
Stencil vinyl is specifically designed for creating stencils that can be used for painting or etching projects.
You can cut out intricate designs and patterns, which can then be used as a guide for applying paint or other mediums to your projects.
5. Printable Vinyl:
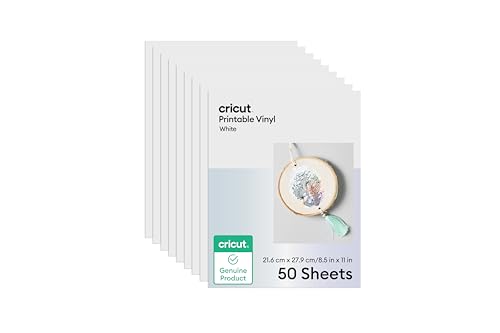
With printable vinyl, you can print your own designs and art using an ink jet printer and then cut them with your Cricut machine.
It’s perfect for creating custom stickers, labels, decals, and more.
6. Smart matless vinyl
Cricut Smart Vinyl is an amazing new material that you can cut without a mat and make very long cuts without splitting the design!
This makes it a popular choice for home decor projects, banners, and signs.
It’s available in three types: permanent, removable, and iron-on vinyl.
One thing to keep in mind is that Cricut Smart Vinyl can only be cut without a mat using the Cricut Explore 3, Maker 3, or Joy.
So, if you own a different machine, you may need to upgrade to take the full advantage of this amazing new product.
But don’t worry, all Cricuts can actually cut this vinyl.
You’ll just need to use a mat with older models.
Most types of vinyl are also available in different finishes, colors, patterns, and textures.
You can find glossy, matte, glitter, holographic, or metallic options to suit your creative vision.
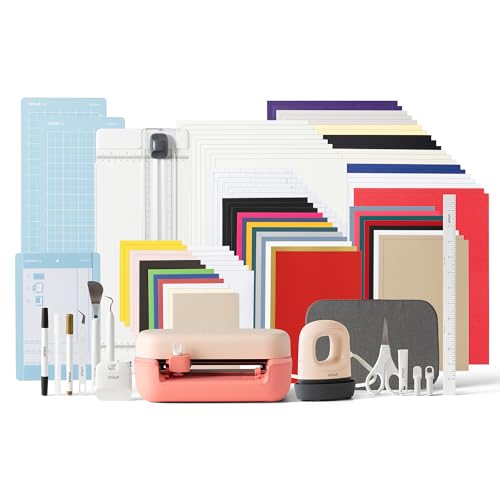
What mats do all Cricuts need to cut vinyl?
When using Cricut, it’s important to choose the right mat for the job.
Most vinyl materials should be cut on the StandardGrip mat, which is a versatile option that works well for a wide range of projects.
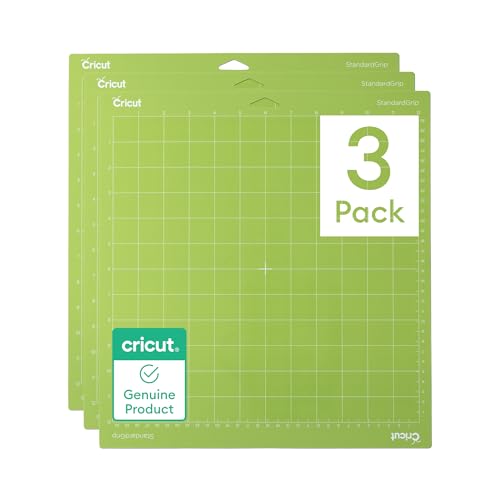
The mat offers an ideal level of grip to secure your vinyl in place while cutting, yet it allows for effortless removal once your design is finished.
One of the reasons why the StandardGrip mat is so well-suited for vinyl cutting is that it strikes a good balance between grip and release.
If your mat has too much grip, your vinyl may stick too firmly and be difficult to remove without tearing or stretching.
On the other hand, if your mat doesn’t have enough grip, vinyl may shift or slide around during cutting, resulting in imprecise cuts or ruined materials.
With the StandardGrip mat, you can enjoy the best of both worlds: a secure hold during cutting, and a smooth release when you’re ready to transfer your design to its final destination.
So whether you’re making decals, stickers, or any other vinyl project, the StandardGrip mat is a reliable choice that’s sure to help you achieve professional-quality results.
How to Cut Vinyl with Cricut: Step-by-Step Guide
1. Choose the Right Cutting Mat:
First, you’ll need the appropriate cutting mat for vinyl cutting.
Again, most vinyls should be cut on the StandardGrip mat.
If you have one of the newer models and Smart vinyl, you can cut it without a mat.
2. Use the Right Blade:
As I’ve said above, get the standard Fine Point blade.
It’s the perfect match for cutting vinyl.
3. Adjust the Settings:
Select the right material settings for the type of vinyl you’re using in Cricut Design Space.
This will help your machine apply the correct pressure and speed for a clean cut.
You can also adjust the pressure and speed settings manually to fine-tune your results.
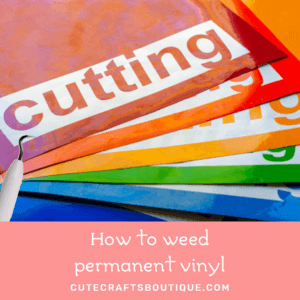
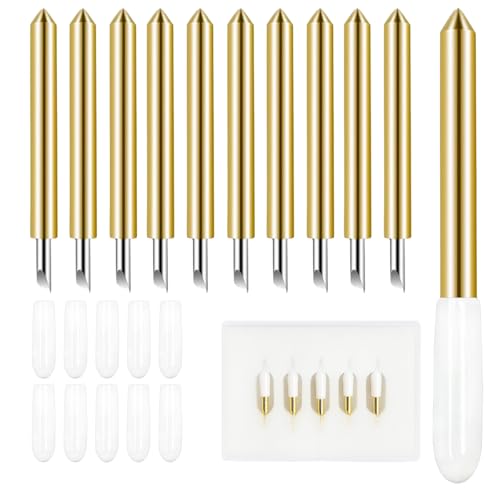
4. Weed the Vinyl:
Once your Cricut machine finishes the cutting process, it’s time to weed away the unwanted parts.
Get a weeding tool or a pair of tweezers and remove the excess vinyl from your design.
Take your time and be careful to avoid accidentally tossing away any important pieces.
5. Use Transfer Tape:
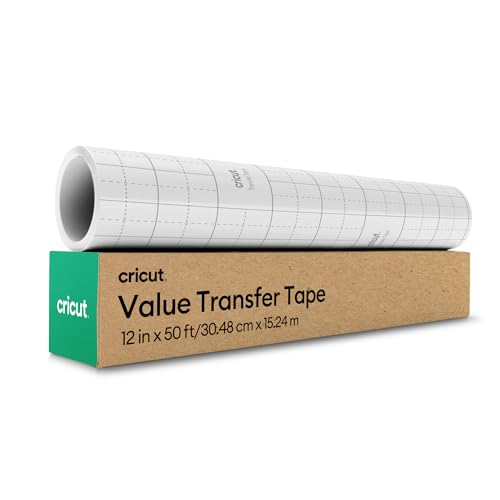
Transfer tape is a must-have tool for applying your permanent or removable vinyl design to your project surface (iron-on doesn’t need transfer tape, it has its own carrier sheet instead).
It helps you transfer the cut art or text from the vinyl backing to your desired item accurately.
Place the transfer tape over the weeded vinyl, press it firmly, and then peel it off the backing, leaving the design on the transfer tape.
6. Apply the Vinyl:
Carefully position your design on your project surface using the transfer tape’s grid as a guide.
Once you’re happy with the placement, press it down firmly.
Use a scraper tool or an old credit card to smooth out any air bubbles or wrinkles.
7. Remove the Transfer Tape:
Finally, slowly and carefully peel away the transfer tape, leaving your vinyl art perfectly adhered to your project surface.
Take your time with this step to make sure everything stays in place.
Tips and Tricks for Cutting Vinyl with Cricut Machines
Here are a few additional tips and tricks to enhance your vinyl cutting experience:
Start with Small Designs:
If you’re new to vinyl cutting, it’s best to start with small and simple designs.
It helps you get the hang of it and build your confidence before diving into more complex projects.
Experiment with Settings:
Don’t be afraid to play around with the pressure and speed settings in Cricut Design Space.
Depending on the type and thickness of the vinyl, adjusting these settings can make a big difference in the quality of your cuts.
Properly Store Your Vinyl:
To keep your vinyl from getting ruined, store it in a dry, cool place away from direct sunlight and UV rays.
You can use vinyl roll racks or organizers to keep your collection neat and tidy.
Common mistakes when cutting vinyl with Cricut
When cutting vinyl with a Cricut machine, it’s important to be aware of common mistakes to avoid for the best results. Here are some common pitfalls to watch out for:
1. Using the wrong mat:
Always use the right mat for the type of vinyl you’re working with.
The green StandardGrip mat is specifically designed for cutting most types of vinyl.
It provides the necessary grip and stability for this material.
2. Neglecting to burnish the vinyl:
After placing the vinyl on your project surface, use a scraper tool, squeegee, or a credit card to burnish it.
Firmly rub the vinyl to ensure proper adhesion and prevent bubbles.
Proper scraping helps to make the decal smooth and professional-looking.
3. Not weeding on the mat:
To effectively remove the unwanted vinyl from your design, make sure to do it on the cutting mat.
Weeding directly on the mat keeps the vinyl in place.
So it won’t curl or shift during the process.
4. Forgetting to clean the project surface:
Before applying the vinyl, make sure the item’s surface where you want to place the decal is clean and free from any dust, debris, or oils.
Use rubbing alcohol to clean it thoroughly.
This will help the vinyl stick better.
So, to answer the question: yes, all Cricut machines can cut vinyl!
Whether you’re rocking the Cricut Explore 3, Maker 3, Cricut Joy, or an older model, vinyl cutting is well within your reach.
Remember to choose the right cutting mat, blade, and settings, and follow the step-by-step guide we’ve provided.
With a little practice and creativity, you’ll be creating stunning vinyl projects in no time.