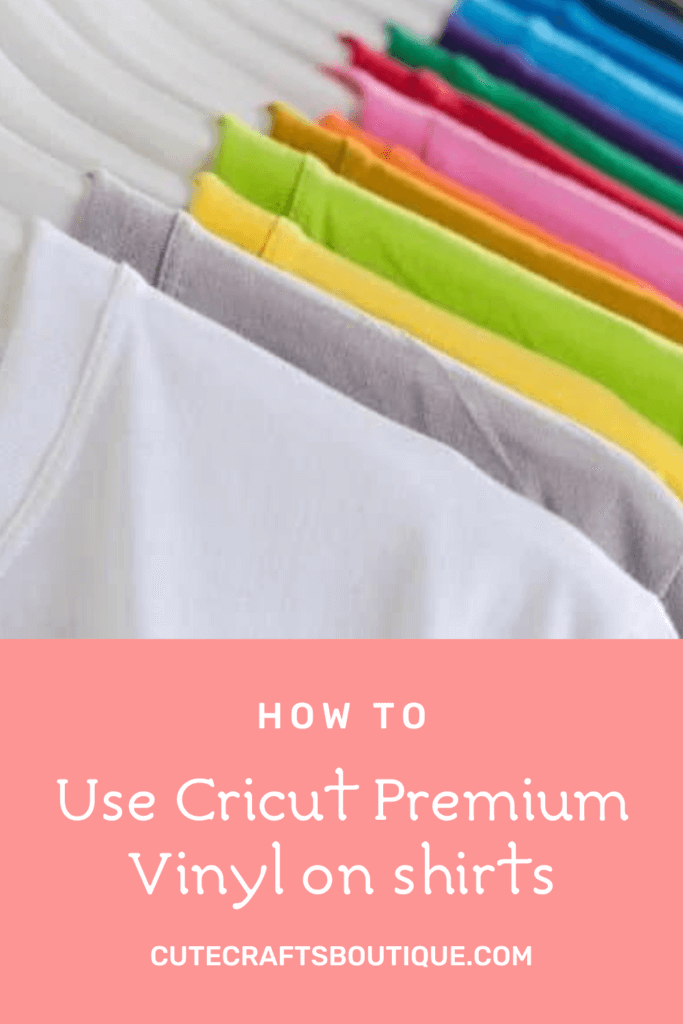
When it comes to crafting, there are a lot of different materials you can use to create your project. But what if you want to add a personal touch to a shirt? Can Cricut Premium Vinyl be used on shirts? Let’s find out!
In this article, we’ll be exploring whether Cricut Premium Vinyl is a suitable material for shirt making. We’ll also be looking at some creative ways of using this product on fabric. So let’s jump right in!
Can Cricut Premium Vinyl be used on shirts?
There are a lot of people out there who are wondering if Cricut Premium Vinyl can be used on shirts.
The answer is no, it cannot.
Both kinds of Cricut Premium Vinyl are adhesive vinyl types and will have poor adherence to fabrics.
So in most cases, you will need to use heat transfer vinyl instead. However, there are a few things you can do to make Cricut Premium Vinyl still work on shirts.
What is Cricut Premium Vinyl?
If you’re a crafter and a Cricut user, you’ve likely heard of Premium Vinyl.
Cricut Premium Vinyl is a high-quality vinyl manufactured by Cricut that is perfect for use with their machines.
With it, you can create professional-looking products that will last.
This vinyl is one of the most versatile materials on the market. It can be used on a variety of surfaces, including paper, cardboard, metal, glass, and more to create labels, decals, signs, and other stuff.
It’s available in a variety of colors, so you can find the perfect match for your project.
Types of Premium Vinyl
When it comes to Cricut Premium Vinyl, there are two main types — Permanent Adhesive Vinyl and Removable Adhesive Vinyl.
Each type has its unique benefits and drawbacks.
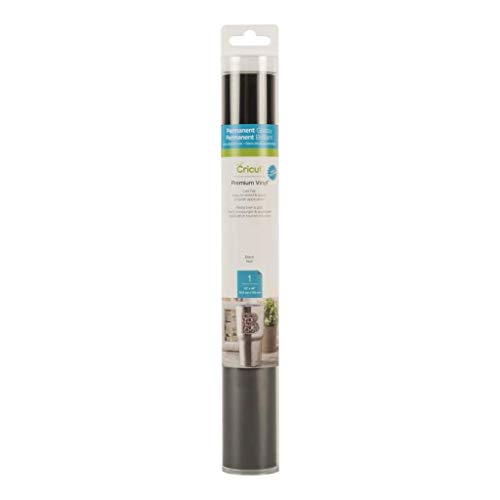
Permanent adhesive vinyl is ideal for projects that go through a lot of wear and tear.
It’s also perfect for outdoor application, as it can withstand weather and sunlight.
However, permanent vinyl can be difficult to remove, so it’s not the best choice for designs that you may want to change later on.

Removable vinyl is ideal for projects that you want to be able to change or remove later on.
It’s also great for temporary creations, like window decals.
However, removable vinyl can be less durable than permanent adhesive vinyl, so it’s not good for placing on items that will be exposed to a lot of wear and tear.
Why can’t Cricut Premium Vinyl be used on shirts?
Both Cricut Premium permanent and removable vinyl are great materials for a variety of creative projects, but it’s important to understand how to use them correctly.
These types of vinyl must be applied to a smooth, hard surface for them to stick properly.
This is why no type of Cricut Premium Vinyl can be used on shirts or other fabric items.
If you use any kind of Cricut Premium Vinyl on a shirt, it may look good at first, but won’t stand up to repeated washings and will eventually crack or peel.
This is because these two materials are not as flexible as the special iron on vinyl made for use on clothes and fabrics.
So if you want your shirt to last, you should use a different type of vinyl — heat transfer iron on vinyl (HTV).

How to use Cricut Premium Vinyl on shirts creatively anyway?
Cricut Premium Vinyl can still be used on shirts in a number of ways.
While Premium permanent adhesive vinyl can’t be applied to textiles at all, you can use the removable type of this vinyl for making fabric painting stencils or as temporary decorative stickers to add some extra flair to a shirt for an event or a special occasion.
Use Cricut Premium Vinyl for making shirt stencils
Whether you want to make a one-of-a-kind shirt for yourself or gifting, Cricut Premium removable vinyl stencils are a great way to personalize fabric blanks.
The results can be very sharp, professional-looking, and crisp.
The key is to be careful when applying the vinyl to the shirt so that the lines are straight and the vinyl doesn’t crease.
If you have a Cricut cutting machine, you can easily create a stencil using Cricut Premium removable vinyl, which can be applied temporarily to the shirt for painting and later pulled away.
Vinyl stencils are an amazing way to add intricate designs and small fonts to a variety of surfaces.
They are easy to use and stay in place better than plastic stencils.
The vinyl is sticky on the back, so it won’t shift while you are painting the shirt.
However, vinyl stencils are not reusable, so you’ll need to create new ones if you want to make a few copies of your shirt design.
How to use Premium Removable vinyl for making stencils
Whether you have a Cricut Explore, Cricut Maker, or even a Cricut Joy machine, you can use any of these units to create a stencil from Premium removable vinyl.
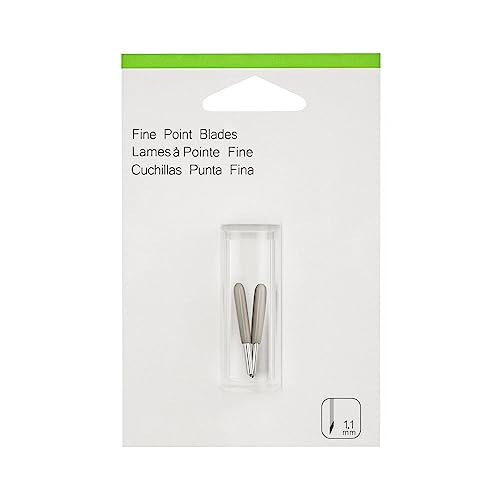
Use the Cricut Fine Point or Joy Blade and the StandardGrip mat for cutting your stencils.

The Fine Point and Joy blades are designed to cut through thin materials like vinyl, while the medium-grip mat will provide a stable surface.
To ensure a clean cut, use a sharp blade and a clean mat.
- To start, you will need to gather your supplies. You will also need Cricut Premium Removable vinyl, a weeding tool, scissors, and some transfer tape.
- First, make sure that the vinyl is properly positioned on the cutting mat.
- Load the mat into the machine.
- Next, use the Cricut Design Space software to create a design, or open an existing file.
- You’ll need to find or create an image that you’re going to use as your stencil. Once you have your design ready, you’ll need to size it to fit your project.
- Once this is done, select the “Premium Vinyl – Removable” setting and send the file to the Cricut machine to cut.
- After the design is cut out, you will need to weed it. This means that you’ll have to remove the excess vinyl around and inside your design.
- Next, you will need to apply the transfer tape to the remaining vinyl design. This will help to transfer your graphic onto your shirt’s surface. Make sure that you smooth out the transfer tape so that there are no air bubbles.
How to apply a Cricut Premium Removable vinyl stencil to a shirt
Stencil vinyl can be applied to a shirt using several simple steps:
- First, lay the shirt on a hard, flat surface, and smooth out any wrinkles.
- Next, position the vinyl stencil on the shirt where you want your design to be, burnish it to smooth it out, remove the transfer tape, and secure it in place with painter’s tape.
- Once your design is transferred and burnished onto the front or back of the shirt, you can paint over the stencil.
- Use a brush or a foam roller to apply fabric paint over the stencil’s surface.
- Be sure to use a light touch so that the paint does not bleed under the stencil.
- Finally, peel off the stencil and enjoy your new shirt!
Use Cricut Premium Removable Vinyl for making temporary stickers for shirts
Looking to make some fun temporary stickers for your shirts?
Cricut Premium Removable Vinyl is the perfect product to use!
This vinyl is easy to cut and weed, and it will stick to your shirt easily.
Plus, it’s removable, so you can change up your designs whenever you want!
So it’s a great way to add some pizzazz and excitement to your shirts for a special occasion or event.
How to cut stickers from Cricut Premium Removable vinyl
Here’s a quick guide:
- First, you’ll need to gather your materials. You’ll need a Cricut machine, Cricut Premium Removable vinyl, a cutting mat, and a shirt.
- Cricut Premium Removable vinyl can be used with any Cricut machine.
- Use the following settings:
-Cutting Mat: the green StandardGrip Mat.
-Blade: Premium Fine-Point Blade.
-Material Setting: “Premium Vinyl – Removable” Kiss Cut setting. - After that, select or create the design to cut out from vinyl and size it to fit your project.
- Next, you’ll need to place your vinyl onto the cutting mat. Make sure that the vinyl is positioned correctly before you start cutting.
- Once you load the mat into the machine, you can start cutting out the stickers. Be sure to follow the instructions that came with your Cricut machine and select the material and cut settings I’ve mentioned above.
- Once the stickers are cut, you can use the transfer tape to apply them to your shirt. Finally, pull away the transfer tape.
- That’s it! You’ve now successfully created lovely t-shirt stickers from Cricut Premium Removable vinyl.
What vinyl is recommended for use on shirts?
Heat transfer vinyl
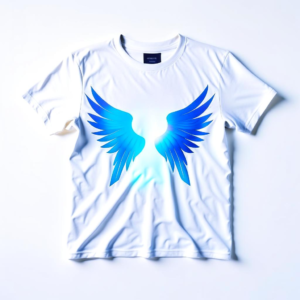
If you want a professional-looking shirt that will last wash after wash, then you should use Cricut Heat Transfer Vinyl (HTV) also known as Iron On.
Heat transfer vinyl is a material that can be used with a heat press or iron to transfer designs, patterns, and images onto fabric. It’s a popular choice for custom t-shirts, tote bags, and more.
Cricut Premium vinyl is a great option for a quick and easy project, but it doesn’t have the same durability on fabrics as the iron-on material.
Unlike Cricut Premium vinyl, HTV is flexible, so it won’t peel off the shirt after a few days. It’s designed to withstand repeated washes, making it ideal for t-shirt projects for wearing, gifting, or even selling.
Iron-on is designed to withstand the heat of the press and bleeds into the fabric creating a strong bond.
It’s a popular material for crafters because it’s easy to use and relatively budget-friendly.
HTV comes in a wide variety of colors and finishes, plus, you can layer it, so you’ll be able to create just about any design you can imagine.
How to cut HTV Cricut vinyl for shirts?
Cutting Cricut heat transfer vinyl is a simple process involving just a few steps:
- You’ll need a Cricut machine (any Cricut machine will do this too), heat transfer vinyl, a cutting mat, and a weeding tool. Plus, you’ll need a heat press or iron and a heat press mat or a folded towel

- To cut Cricut heat transfer vinyl for use on shirts, first select the desired design and size it to fit your shirt.
- It’s important to mirror the image before cutting. This will ensure that the design is cut in reverse and will look correct when applied to the shirt.
- Be sure to use the LightGrip or the StrandardGrip mat, the Fine Point blade, and set the material to “Iron On”. With these settings, the machine will be able to cut through the vinyl and create a great-looking design.
- Place the iron-on vinyl shiny side (the carrier sheet side) down on the mat for cutting. You don’t want to cut the carrier sheet because it replaces the transfer tape with this type of vinyl.
- After cutting, weed away the excess vinyl. To do this, use a weeding tool to remove the small pieces of vinyl that are not part of your design and the large piece around the graphic.
- Next, apply the design to the shirt using a heat press or an iron.
- You can use the Cricut EasyPress heat press to apply Cricut iron onto a shirt. With this device, you can achieve professional results. The process of using it is simple and doesn’t require any special skills.
- Place your shirt on the heat press mat or a folded towel (I recommend using a mat because a towel may have bumps or wrinkles) and smooth it out.
- Pre-press the shirt for 5 seconds with the EasyPress or for 10-15 seconds with an iron.
- After that, place the design over the shirt with the carrier sheet (the shiny side) facing up and apply the heat press or iron over it.
- If you are using EasyPress, you will need to set the temperature according to the Cricut Heat Guide and apply pressure for 30 seconds.
- Let the design cool and carefully remove the carrier sheet.
- Flip the shirt over and lay it with the back facing up, then press it again for 10-15 seconds.
That’s it!
In conclusion, Cricut Premium vinyl does not work well on shirts.
However, some workarounds let you use it to decorate your shirts anyway.
But if you want a Cricut vinyl for shirts, I recommend using HTV or Iron On Vinyl.