Do you know how to cut Infusible Ink sheets with your Cricut machine? This easy sublimation material is a pretty new product, so lots of crafters are still figuring it out. But don’t stress – cutting Infusible Ink with Cricut is totally doable once you know the right tips and tricks.
In this article, we’ll walk you through the process step-by-step, so you can make amazing designs that last a long time.

Infusible ink overview
Infusible ink is a specialized type of heat transfer and sublimation material.
It’s designed to create high-quality and long-lasting designs on a variety of surfaces, including fabrics, metal, wood, and ceramics.
Unlike other types of transfer sheets that sit on top of the surface, infusible ink actually infuses into the material.
This creates a permanent bond that is resistant to fading, peeling, and cracking.
Infusible ink sheets are made of a special polymer that is infused with dye.
When heated to high temperatures, the dye turns into a gas and bonds with the fibers or coating of the material.
This results in a vibrant and durable transfer.
Infusible ink is compatible with Cricut cutting machines.
This makes it easy to create intricate designs and cutouts for your projects.
If you’re thinking about personalizing some t-shirts or tote bags, I highly recommend giving infusible ink a try.
It creates a super-cool and durable finish that looks totally professional.
Cutting infusible ink with Cricut
All Cricut machines are perfect for working with infusible ink.
You can’t cut these sheets by hand because you need to make a kiss-cut.
That means the blade only needs to go through the ink layer and leave the liner intact.
A Cricut machine allows you to handle intricate and complex designs and patterns quickly and easily.
This is because Cricut uses precision technology that works even on the thinnest and most delicate materials.
You can upload or create your own art or choose from a huge library of pre-made fonts and shapes.
How to cut infusible ink with Cricut
Tools and materials
There are several tools and supplies you’ll need to have on hand.
Here’s a closer look at each one:
1. Cricut cutting machine
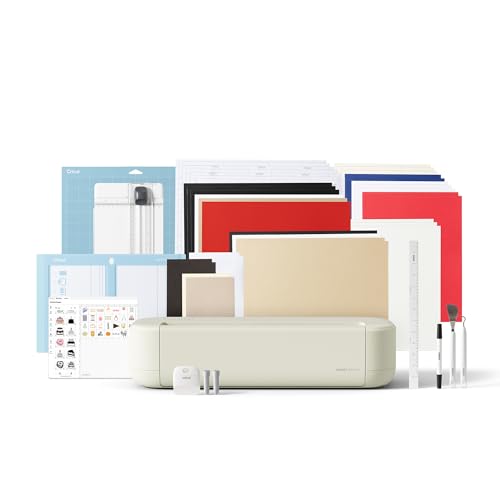
A Cricut cutting machine is essential for handling infusible ink sheets.
These machines are designed to work with a variety of materials, including ink sheets, vinyl, and card stock.
They come with precision technology to ensure accurate and intricate cuts.
All Cricut machines can cut infusible ink.
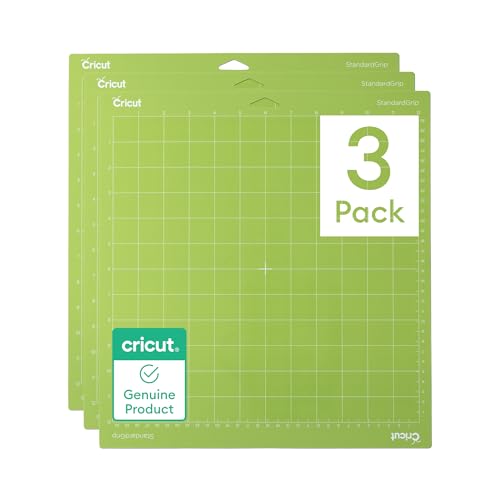
2. StandardGrip cutting mat
A cutting mat will hold the infusible ink sheet in place during the cutting process so that it doesn’t slip during.
Cricut cutting mats come in different levels of grip strength.
The line includes StandardGrip, StrongGrip, and LightGrip.
The choice of mat depends on the type of material you’re working with.
You’ll need to use the StandardGrip mat for infusible ink.
3. Infusible ink sheets

Infusible ink sheets are infused with special dyes, and come in a variety of colors and patterns.
They are compatible with all Cricut cutting machines and are designed to create high-quality, long-lasting transfers when used with heat and pressure.
4. Cricut Fine Point Blade
The Fine Point Blade is the standard and most commonly used blade for cutting infusible ink sheets.
It’s designed to make precise cuts on a variety of materials, including vinyl and paper.
5. Brayer
When you’re working with Cricut and Infusible Ink, using a brayer can really make a difference!
It helps the ink sheets stick to the mat and prevents any air bubbles or wrinkles from forming.
6. Cricut EasyPress, heat press or mug press
If you want to put your infusible ink design onto a blank material, you need the right equipment.
To get it just right, you’ll need a heat press, like the Cricut EasyPress, or a mug press.
These tools apply heat and pressure to the blank, which makes infusible ink stick to the blank’s fibers or coating and creates a design that won’t fade.
If you want your projects to look professional, it’s super-important to get a high-quality heat press instead of a household iron.
It’s a great investment that’ll help you make your designs look their best.
7. Compatible blanks
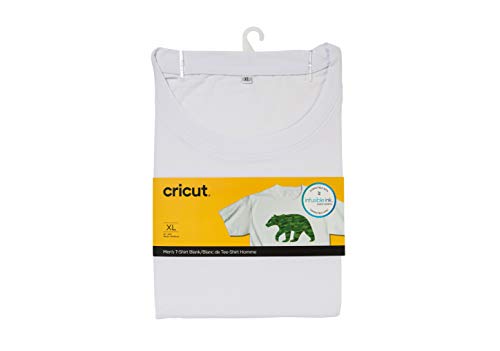
You’ll need to pick a blank that’s compatible with the sublimation heat transfer process.
The best blanks to use are t-shirts, tote bags, and coasters made from materials like polyester or poly-coated substrates.
Textile items should have a high polyester count.
Avoid using blanks made from natural fibers like cotton since they won’t hold the ink properly.
Also, make sure your blank is nice and smooth without any wrinkles or creases, because that can mess up your final design.
8. Butcher paper and white card stock
Butcher paper and card stock are necessary for protecting your blank, mat, and heat plate.
They create a barrier that prevents any unwanted ink transfer and keeps everything looking clean and neat.
So they’re a must-have to avoid any accidents or mistakes while you’re creating your designs.
9. Heat-resistant tape
You will also need heat-resistant tape.
It’s another important item to have on hand because it keeps your design in place during the heat transfer process.
So it won’t move around and mess up your project.
Plus, this tape is specially made to withstand high temperatures of the heat press.
10. Lint roller or a lint-free wipe
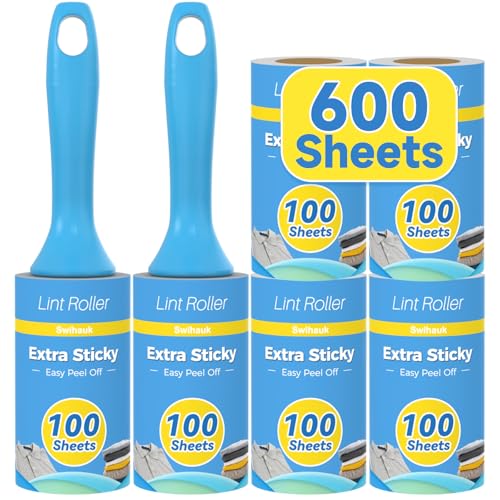
It’s also important to make sure your blank surface is nice and clean before starting.
Dust and debris can really mess up the transfer process.
So grab a lint roller or a lint-free wipe to get rid of any unwanted particles.
Use the lint roller for fabric blanks and the microfiber lint-free wipe for hard-surface banks, like tumblers.
Stay away from regular cloths or paper towels though, since they can leave lint behind. And that can ruin your transfer.
How to cut infusible ink with Cricut step-by-step
1. Gather your materials.
To create impressive designs, equip yourself with a Cricut cutting machine, a StandardGrip cutting mat, infusible ink sheets, a Fine Point Blade, and the Design Space software installed on your computer or mobile device.
2. Create or select your design in Design Space.
You can either create your own design from scratch or choose one from a library of pre-made designs in Design Space.
3. Mirror the design
It’s important to remember to mirror your design before cutting it out.
This is because your art or text will be placed face down on your blank.
And if it’s not mirrored, it will end up being backwards on the finished product.
Select your design in Cricut Design Space, click on ‘Flip’, and then choose ‘Flip Horizontally’.
4. Select the infusible ink material setting.
In Design Space, select “Infusible Ink Transfer Sheet” as your material and choose the “Fine Point Blade” as your tool.
You can also adjust the pressure and speed settings if you need.
5. Place the infusible ink sheet onto the cutting mat.
Make sure the mat is clean and free of any debris or residue before placing your material.
Place the ink sheet with the ink side facing up and with the liner side facing the mat.
Align it to the top left corner of the mat and to its grid lines.
Smooth out any wrinkles or bubbles with a brayer.
6. Load the cutting mat into the Cricut machine.
Make sure the mat is loaded straight and centered, and adjust the rollers if necessary.
Press the “Load” button on your machine.
7. Cut your design
Follow the prompts on Design Space to prepare the file for cutting.
Press the “Go” button to start the cut.
8. Remove the infusible ink sheet from the cutting mat.
Use a scraper to gently lift the corners/sides.
Don’t pull it off too quickly.
9. Weed infusible ink using the “cracking” method.
Cricut recommends using the “cracking” method to weed infusible ink.
Simply bend and roll unwanted parts away from your infusible ink sheet.
You’ll hear a little cracking sound as the cut lines and the pieces you need to remove separate.
Then, all you need to do is pull away those unnecessary bits.
10. Apply the infusible ink design to your material.
Follow the instructions for your specific blank material and transfer method and refer to Cricut’s Heat Guide.
Infusible ink can be applied using a heat press, like Cricut EasyPress machine, or a mug press, depending on the size and shape of your blank.
Use the mug press for transferring your design onto curved objects, such as tumblers, water bottles, or mugs.
And use the EasyPress or other heat press for flat blanks, like t-shirts, coasters, wood slices, etc.
Make sure to apply even heat and pressure for the best results.
11. Peel away the liner.
Once the transfer is complete, carefully peel away the butcher paper and the liner to reveal your design.
Admire your finished product!
Your infusible ink design should be vibrant, colorful, and long-lasting.
Can I reuse infusible ink sheets after cutting them?
No, infusible ink sheets cannot be reused once they have been cut and weeded.
Can I cut infusible ink sheets with a different type of cutting machine?
Yes, you can cut infusible ink sheets with other popular cutting machines, like Silhouette, in addition to Cricut.
However, make sure that the cutter you are using is compatible with the material and has all the necessary settings.
Can I cut infusible ink sheets with scissors or a craft knife?
No, you need a kiss cut for infusible ink, which is impossible to achieve with scissors or a craft knife.
Plus you won’t be able to create precise cuts for intricate designs.
Can I layer infusible ink designs on top of each other?
Infusible ink is different from iron-on vinyl (HTV).
With HTV, you can layer multiple sheets to create complex designs.
With infusible ink, it can cause the colors to blend and fade.
If you overlap the sheets, the ink will mix and make the design look muddy.
Plus, if you heat the same area multiple times, the ink can fade too. So the colors won’t be as vibrant.
Always use one sheet per project and avoid overlapping or reheating the same area.
Can I cut infusible ink sheets with a Cricut Joy machine?
amazon bestseller=”cricut joy infusible ink sheets” items=”1″]
Yes, you can cut them with Cricut Joy, but you’ll need to buy Joy-sized ink sheets.
Alternatively, you can cut your sheets down to size to fit this unit’s smaller cutting mats.
Can I use infusible ink on dark or colored materials?
Infusible ink is designed to be used on white or light-colored materials only.
It will not work on dark or colored surfaces as the ink will not show up.
To sum it up, cutting infusible ink sheets using a Cricut machine can be a fun way to add your own personal touch to your projects!
Just follow the steps I’ve outlined in this article and make sure you have the right tools and materials handy.
With some practice and experimentation, you’ll be able to create precise and intricate cuts that will bring your designs to life.