If you’re looking for a guide on how to weed permanent vinyl, you’ve come to the right place. In this blog post, we’ll go over everything you need to know to weed your vinyl correctly.
Weeding permanent vinyl can be a bit tricky, but with these tips and tricks, you’ll be a pro in no time.

What is weeding vinyl?
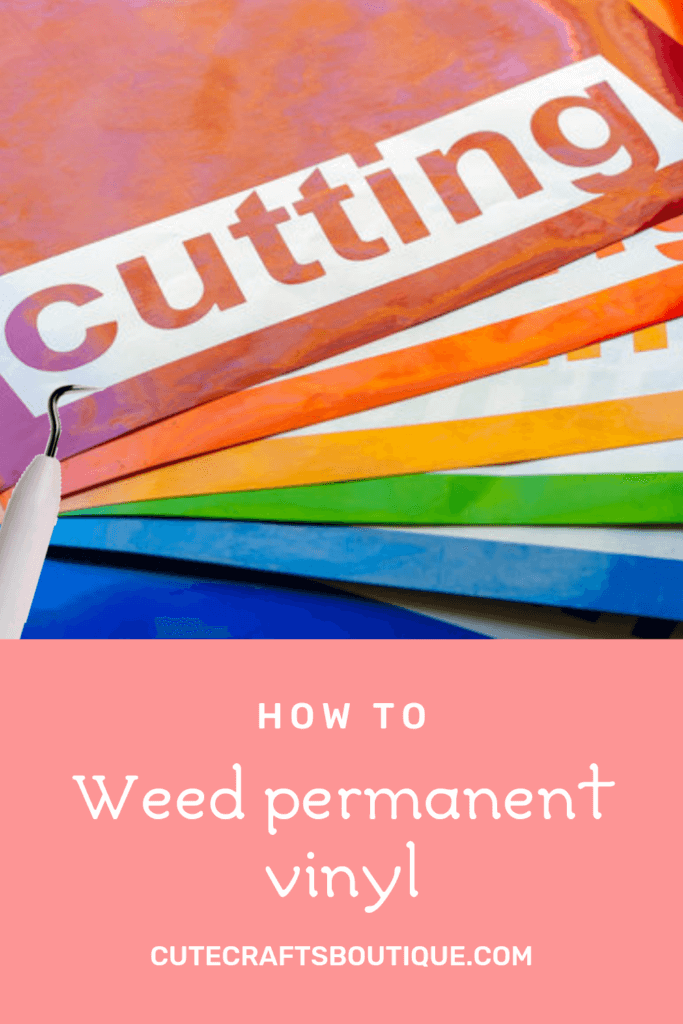
Weeding vinyl is the process of removing the negative spaces inside and between the letters or design elements of a vinyl decal and around the design.
This is done using a sharp craft knife or a special hook-shaped weeding tool and can be tricky depending on the motif.
Weeding is an important step in the vinyl cutting process because it ensures that only the desired elements are transferred to the chosen surface.
With smaller designs, it’s important to be careful not to accidentally remove any of the vinyl pieces you want to keep.
What is permanent vinyl?
Permanent vinyl is a type of vinyl that is specifically made to be used for projects that require a high level of durability, such as signs, car decals, and mugs.
This vinyl has a strong adhesive, so it can withstand heavy use and any weather.
The other type of adhesive vinyl, removable vinyl is not as durable and isn’t meant for long-term use.
Removable vinyl is often utilized for temporary applications, such as wall decals.
Why is my permanent vinyl so hard to weed?
Sometimes you may be wondering why permanent vinyl is so difficult to weed. The answer is quite simple.
Permanent vinyl is made with a stronger adhesive, which may make it in some cases more difficult to weed.
However, there are a few things you can do to make the weeding process easier.
- First, make sure you use high-quality vinyl, which will be easier to handle, cut, and weed.
- Second, make sure you have a good quality weeding tool.
- And finally, take your time and be careful not to tear the material.
With a little practice, you’ll be able to weed your permanent vinyl with ease.
What permanent vinyl is the easiest to weed?
Weeding vinyl can be a pain, but it’s necessary to create a clean, professional-looking final product.
There are a few things to consider when choosing a brand of permanent vinyl — durability, and ease of weeding.
Out of all the brands on the market, which one is the easiest to weed?
There are a few brands of permanent vinyl that are popular among crafters, and each has its advantages and disadvantages.
When it comes to permanent vinyl, there are two main brands that stand out — Oracal and Cricut.
There are a few reasons why Oracal and Cricut permanent vinyl products are easier to weed than other brands.
One reason is that the vinyl from these brands is thinner and more flexible than less popular vinyl, making it simpler to remove any unwanted pieces since it’s easier to get a sharp tool under the edge of the material to lift it.
Another reason is that Oracal and Cricut vinyl’s adhesive is stronger, so you’re less likely to lift small bits of the design with the throwaway parts when you’re weeding.
This is especially useful for tiny fonts and detailed motifs with many little elements.
In addition to that, the material from these brands is less likely to stretch or tear during the weeding process.
So if you’re looking for a permanent vinyl that’s very easy to weed, Oracal or Cricut is the way to go.
What tools do you need to weed permanent vinyl?
To weed permanent vinyl properly, you will need a few tools, which are often sold in convenient sets with everything you need to get started:
- First, you’ll need a special Cricut weeding hook. This tool is used to help lift the vinyl off of the backing paper.
This hook is great for getting into small spaces and removing small pieces of vinyl.
- Second, you will need a pair of tweezers.
These will be used to help you remove any small or stubborn vinyl pieces.
- Third, you will need a piece of transfer tape. This will be used to help transfer the vinyl onto your desired surface.
- Fourth, you may want to get a special light box or light pad to make it easier for you to see the cut lines, especially on intricate designs with lots of small details.
- Finally, you may want to use a vinyl weeding scrap collector. It’s a small silicone container that helps you collect and store vinyl scraps after you weed them.
This allows you to keep your workspace clean and organized.
If you’re looking for an easy way to collect your vinyl weeding scraps, this silicone Cricut vinyl weeding scraps collector is a great option. It has a star-shaped opening so you easily clean the tip of your vinyl weeding tool, and a suction cup to keep it from moving.
How to weed permanent vinyl without tearing it?
When it comes to weeding permanent vinyl without damaging it, there are a few key things to keep in mind.
- First, you’ll need to gather your supplies.
- Next, you’ll need to cut your design out of the vinyl. Make sure to leave a small border around your design so that you can easily grab it with your weeding tool.
- When cutting with Cricut use a sharp blade to make clean cuts. It will make the weeding process easier later on.
- Once your design is cut out, it’s time to start weeding. Carefully remove the excess vinyl from around and inside your design.
- Use a weeding tool or its alternative to make the job easier, especially for hard-to-reach areas.
- Preferably use a weeding tool specifically designed for vinyl, since a knife or anything sharp can damage the material.
- Use a light touch when weeding to avoid lifting the vinyl and be careful not to pull up any of the design itself.
- Take your time and be careful not to rip or tear the vinyl.
- When in doubt, refer to the manufacturer’s instructions – they will have the best tips and tricks for weeding their specific brand of vinyl.
- Be sure to go slowly and carefully, working in small sections, to avoid damaging the vinyl.
- Start by removing the larger pieces of the design, then move on to the smaller pieces.
- Start from the largest part on the outside and work your way in.
- Clean the area around the vinyl after weeding to prevent residue from building up.
- Once you’re finished weeding, apply transfer tape to your design and transfer it to your desired surface.
- After placing the vinyl on the surface, apply pressure to the decal to adhere it to the surface.
Following these tips should help make weeding permanent vinyl a breeze.
What is the best font to weed on permanent vinyl?
If you’re looking to add some personalization to your home decor or your car’s windows, you may be wondering what the best font to use for weeding permanent vinyl is.
There are a variety of fonts that can be used when weeding permanent vinyl.
Some fonts are easier to work with than others.
In general, a sans serif font with medium to thick strokes is the easiest typeface to weed because the lines are simple and there are no small details.
In addition to that, the strokes are easier to follow and there is less chance of accidentally cutting into the vinyl.
A serif font is more difficult to weed because the lines are thin and there are small details.
Script fonts, fonts with swirls, and distressed or textured fonts can be especially difficult to weed, so it’s often best to avoid these types, especially if you’re a beginner.
Some of the best fonts for weeding permanent vinyl include sans serif typefaces like Arial or Helvetica, as well as serif typefaces like Times New Roman.
Ultimately, the best font to use for weeding permanent vinyl is the one that you think looks best and is easiest for you to work with.
How to weed small letters and intricate designs?
Weeding tiny letters and complex designs with a lot of small details can be a tedious and time-consuming task, but it’s important to take the time to do it properly so that your final product looks its best.
The good news is that it’s easier to weed small fonts and intricate details on permanent vinyl than on other materials and types of vinyl.
Its strong adhesive prevents accidental lifting of tiny details together with unwanted parts.
One trick to help make the process easier is to weed from the sticky transfer tape rather than the vinyl backing.
This also prevents small letters from lifting off the vinyl backing and makes the overall process go much faster.
The handy method, known as “reverse weeding,” can be a real time-saver, especially when working with large or complex vinyl decals.
This way, you can see what you’re doing a lot better and it’s much easier to get those mini-letters out.
Here is a step-by-step guide on how to use the reverse weeding technique for permanent vinyl.
- Begin by placing a piece of transfer tape over the entire design and burnish it. Make sure that the tape adheres well to the surface.
- Next, remove the vinyl backing.
- Place the transfer tape with the sticky side of the vinyl facing up.
- Weed away the unwanted parts using a weeding tool or tweezers starting from the outside and working your way in.
- When you’re done, transfer the design onto your preferred surface and burnish it. Remove the transfer tape.
Give it a try next time you’re weeding permanent vinyl and see how much easier it is!
How to weed vinyl without the special weeding tool?
There are a few different weeding hook alternatives that can be used for weeding permanent vinyl.
First, you will need to find a sharp object that can be used to remove the unwanted material.
Some options include using a knife, pin pen, pins, or tweezers.
- Tweezers are a great option for weeding small areas of vinyl. They can get into tight spaces and pick up even the smallest pieces of vinyl.
- Pins can also be used to weed vinyl, but they are not as precise as tweezers. They can help lift larger areas though.
- A knife can be used to weed vinyl, but it is not the best option. It can damage the thin material and it is more difficult to control.
- A pin pen is a great option for weeding vinyl. It is easy to control and pretty precise.
- A scraper can also help get rid of large pieces of vinyl.
To weed vinyl without the special weeding tool, you will need to be very careful and have a lot of patience.
Work slowly and make sure not to rip the vinyl. If you damage the material, you will need to start over.
Do you need to leave the vinyl on the mat while weeding?
If you’re new to weeding vinyl, you might be wondering if you should leave the vinyl on the cutting mat while you weed it.
The answer is yes! Leaving the vinyl on the mat will help to stabilize the design and make it easier to weed.
Weeding permanent vinyl can be a tricky process, but it’s important to take your time and be careful.
With a little patience and the right tools, you can weed your vinyl like a pro!


