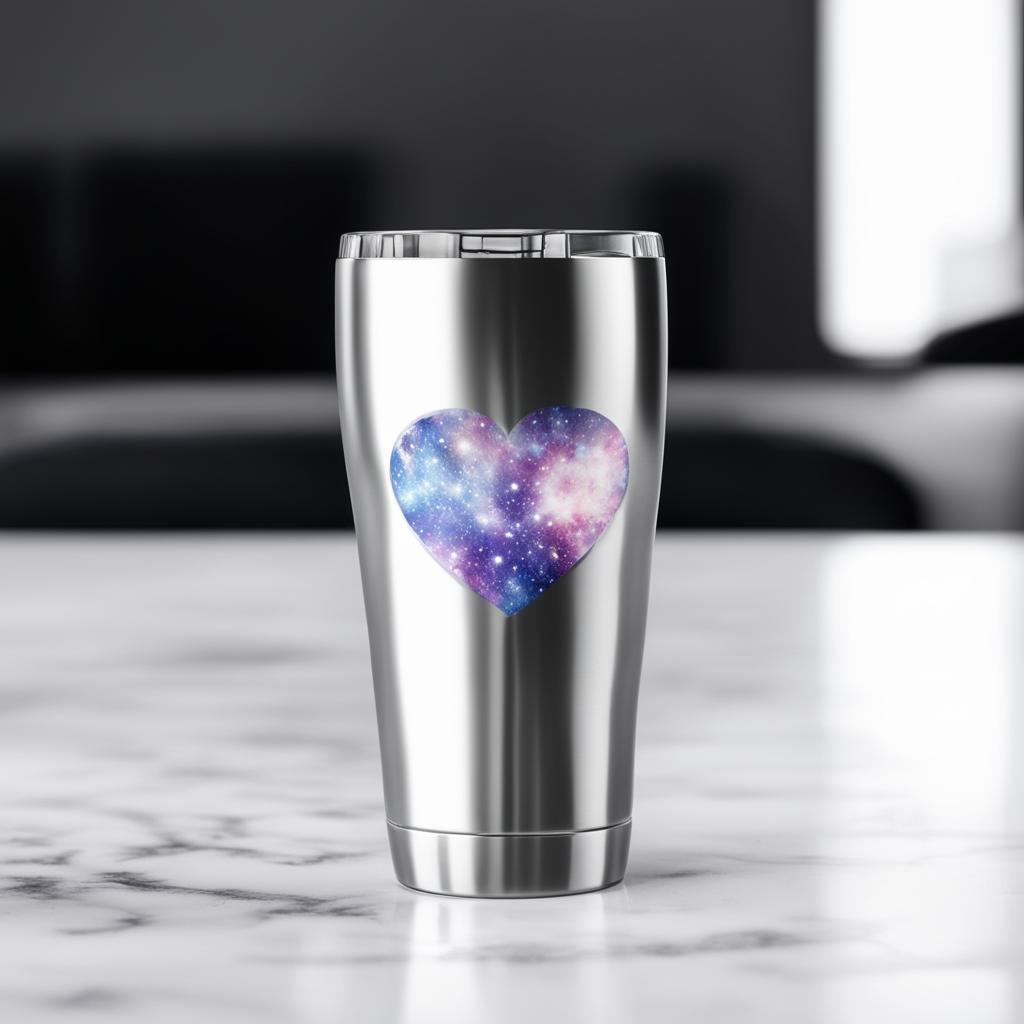
Are you looking to add some personal flair to your water bottle or tumbler? Try to use infusible ink on stainless steel! This magical material can turn your everyday objects into unique masterpieces that reflect your style and personality.
Imagine starting your day with a unique tumbler that reflects your personal style, or gifting a one-of-a-kind custom water bottle. Infusible ink can make your creativity come to life with vibrant, permanent designs that will never fade or peel over time.
But, how does it work? What materials will you need? And how can you make sure your creations look professional? Read on to find out!
Infusible ink overview
Infusible ink is a revolutionary material for crafting that makes sublimation easy.
It’s designed to permanently transfer vibrant colors onto compatible items like polyester fabrics, ceramics, metal, or glass.
Unlike iron-on heat transfer methods, infusible ink doesn’t sit on top of the surface.
Instead, it actually becomes a part of it.
The ink turns from a solid matter to a gas when heated and then fuses with the material.
So you get professional-looking designs that won’t fade, crack, or peel off, even after multiple washes.
It’s perfect for creating personalized clothing, accessories, home decor, and more.
Now, get ready to discover the incredible possibilities of infusible ink on stainless steel and take your crafting game to a whole new level.
Can you use infusible ink on stainless steel?
Yes, you can use infusible ink on stainless steel items, but there are a few things to keep in mind.
Your stainless steel blank must have a special polyester coating for the ink to properly absorb into the surface.
This infusion process is necessary for the ink to become permanent part of the item’s exterior, resulting in long-lasting designs.

Sublimation tumblers and other steel products designed specifically for sublimation are your best bet.
The application method can vary depending on the shape of the item.
Use a mug press for curved objects like stainless steel tumblers, water bottles, or mugs.
And flat surfaces like stainless steel sheets or plaques can be decorated using a heat press.
Such as the popular Cricut EasyPress.
I really recommend giving infusible ink a try on steel.
It creates a bond that lasts.
So you can enjoy your designs and wash them without worrying about them wearing off.
Plus, it gives steel items a professional and flawless look.
The colors are vibrant, the details are sharp.
You can get really creative and personalize your stainless steel items with your own custom designs or make special gifts for others.
How to use infusible ink on stainless steel
Supplies and tools
Here’s what you’ll need:
1. Stainless Steel Items
Start with stainless steel tumblers, water bottles, or other sublimation blanks with a special polyester coating.
This coating is key for the ink to bond seamlessly.
2. Cricut Machine
Get a Cricut cutting machine, such as the Cricut Explore, Cricut Maker, or Cricut Joy, for cutting precise designs from the ink sheets properly.
All these machines are compatible with this material.
3. Infusible Ink Transfer Sheets
Choose your favorite colors and patterns from the Cricut Infusible Ink transfer sheet collection.
They’re specially made to infuse vibrant colors onto various surfaces.
4. Heat-Resistant Tape
Secure your transfer sheet in place using heat-resistant tape.
This will keep everything aligned during the heating process.
5. Mug Press or Heat Press
To ensure efficient heat transfer, choose a mug press for curved stainless steel items, while a heat press (such as the Cricut EasyPress) is ideal for flat surfaces.
6. Lint-Free Cloth
Before applying the transfer sheet, clean the stainless steel surface with a lint-free cloth from dust, debris, or fingerprints.
This will help you get a completely smooth canvas for your design.
7. Protective Gloves
Put on protective gloves to handle the stainless steel item during heating.
This will keep your hands safe and prevent any smudges or fingerprints.
8. Butcher Paper or Card stock
Use butcher paper and card stock to protect your blank, design, and the plates of your heat press from unwanted transfer mishaps.
9. Time and Temperature Guide
Follow the recommended time and temperature settings provided by Cricut in their Heat Guide to achieve the best results.
How to apply infusible ink onto stainless steel step-by-step
1. Prepare Your Design
Use Cricut Design Space to create or choose the perfect design for your stainless steel item.
Make sure it fits within the item’s dimensions.
2. Cut the Infusible Ink Transfer Sheet
Place the infusible ink transfer sheet onto the mat, load it into the machine, and watch your Cricut work its magic, cutting out your design with impressive precision.
3. Clean the Stainless Steel Surface
Take a lint-free cloth and give the stainless steel item a good wipe-down.
Remove any dust, fingerprints, or oils to create a clean canvas.
4. Secure the Transfer Sheet
Carefully position the cut Infusible Ink Transfer Sheet onto the stainless steel surface.
Use heat-resistant tape to hold it securely in place.
This ensures it stays put during the heating process, resulting in sharp and precise designs.
5. Set Up Your Heat Source
Depending on the shape of your stainless steel item, choose a mug press for curved surfaces or a heat press for flat ones.
Set the temperature and time based on Cricut’s Heat Guide recommendations.
6. Start the Heat Transfer Process
Put your stainless steel item with the transfer sheet into the heat press.
Apply firm and even pressure if using a heat press, or follow the instructions for your mug press.
7. Remove and Cool
Once the heating process is complete, remove the stainless steel item from the heat source carefully.
Allow it to cool completely before handling.
8. Peel off the Transfer Sheet
Peel off the liner to reveal your stunning, permanent design on the stainless steel.
Remember to follow all the safety guidelines and instructions provided by Cricut.
Can I wash stainless steel items decorated with Infusible Ink?
Even though infusible ink designs are permanent and durable, I don’t recommend putting items with them in a dishwasher.
High temperature of the water and aggressive detergents can ruin your designs.
However, you can definitely wash your stainless steel items by hand without worrying about the design fading or peeling.
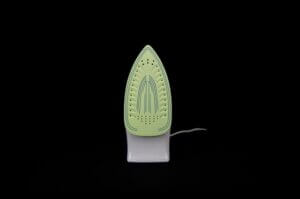
Can I use a regular iron instead of a heat press or mug press?
It’s not recommended.
Regular irons may not distribute heat evenly.
This could result in uneven or incomplete transfers.
It’s best to stick with a heat press or mug press for the best results.
How can I make sure my design stays aligned on curved stainless steel items?
If you’re using a mug press, position the transfer sheet on the curved surface and secure it with heat-resistant tape.
This will help keep your design in place during the heating process.
Can I layer multiple Infusible Ink designs on stainless steel?
Layering multiple designs on stainless steel may impact the quality and adherence of the ink.
Plus the layers may mix and create a muddy color.
It’s best to focus on one design per application.
Do I need to follow any special care instructions for stainless steel items with Infusible Ink?
Avoid high temperatures, harsh and abrasive tools, or cleaning agents.
Can I use Infusible Ink on stainless steel items with a matte or textured surface?
It’s best to use it on items that have a smooth, polyester-coated surface.
The ink needs that smoothness to properly infuse and bond.
Can I use Infusible Ink on stainless steel that has already been engraved or etched?
No, the pre-existing engraving or etching may interfere with the ink transfer.
It’s always best to start with a clean and smooth stainless steel surface.
Can I apply Infusible Ink to stainless steel items with a colored or painted surface?
No, get a stainless steel item with a clear or uncoated surface.
Colored or painted blanks may impact the appearance and adherence of the ink.
How durable are the Infusible Ink designs on stainless steel?
Infusible Ink designs on stainless steel are highly durable and built to last.
They resist fading, cracking, and peeling with regular use and handwashing.
Can I use Infusible Ink on stainless steel items that will come into contact with food or beverages?
I wouldn’t apply the ink to surfaces that will directly touch food or beverages, like platters, etc.
Instead, focus on decorative pieces or exterior areas that won’t have direct contact with anything you eat or drink.
Can I use Infusible Ink on other metal surfaces besides stainless steel?
Infusible Ink is specifically designed for compatible materials, like polyester-coated metals, especially stainless steel.
It may not adhere or produce the results you want on other metal surfaces, unless you coat them to make the ink absorb.
Can I use Infusible Ink on stainless steel items that will be exposed to high temperatures?
I’d avoid using it on items that will be exposed to extreme heat, like direct flame or hot cooking surfaces.
Infusible Ink is activated by heat, so high temperatures may affect its performance.
If you’re looking to get creative with your crafting projects, you should definitely try out Cricut Infusible Ink on stainless steel.
It’s super fun and easy to use, and it opens up a whole world of possibilities for personalizing your items.
The colors are vibrant and long-lasting.
So you can be sure that your designs will stand out and look amazing.
And you don’t have to worry about your designs fading or peeling over time.