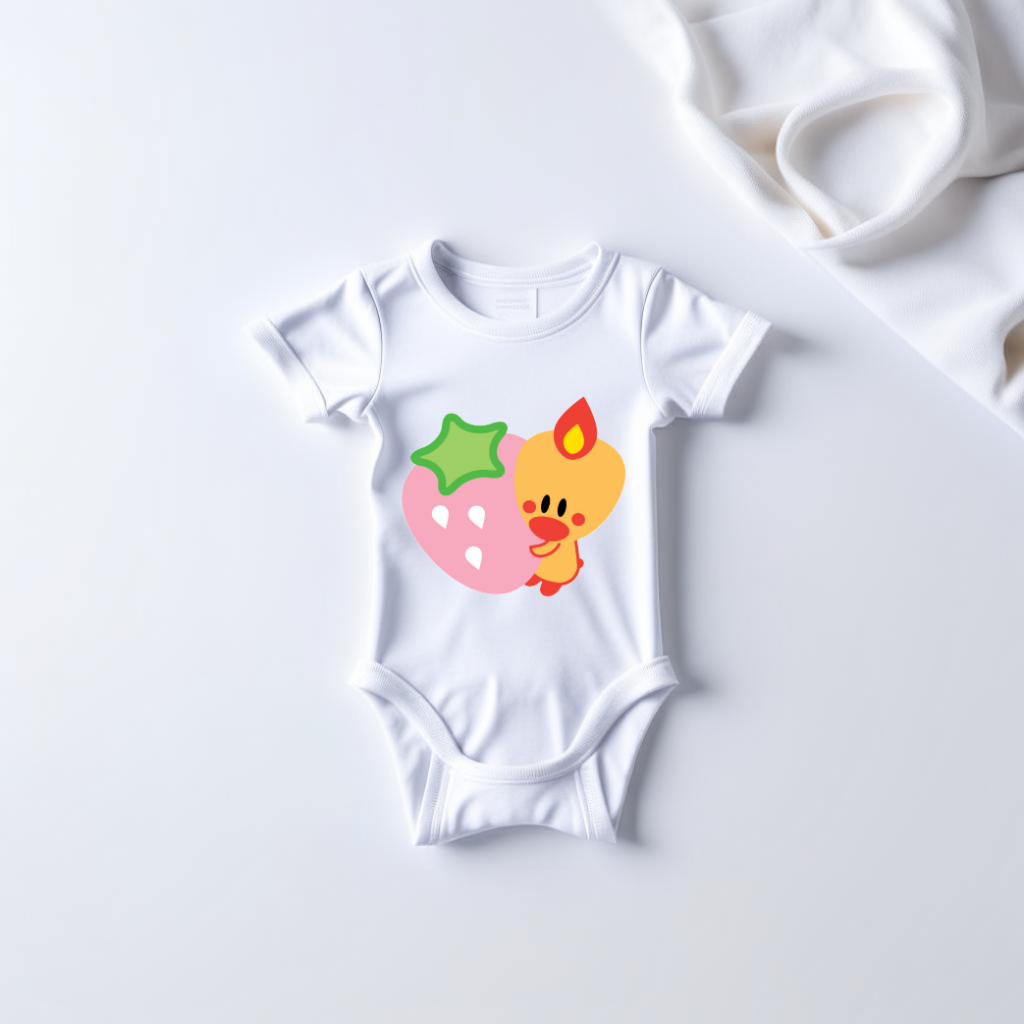
Have you jumped on the Cricut bandwagon yet? It’s a fun world of crafting and DIY projects that keeps growing! One of the most popular materials to use with Cricut machines is iron-on vinyl, also known as heat transfer vinyl. It’s perfect for creating personalized t-shirts, decorating tote bags, or even adding a cute design to onesie. And it’s super simple to use! But, to make sure your project turns out perfectly, you’ll want to use the right Cricut mat for iron-on vinyl.
So, in this blog post, we’ll talk about which Cricut mat works best for iron-on vinyl. Let’s get started!

What Cricut mat should you use for iron-on vinyl?
The best mat to use for HTV vinyl projects with a Cricut machine is the StandardGrip mat.
This mat has just the right amount of adhesive to hold the material securely in place while you cut.
But the adhesive is not too strong to damage the vinyl when you remove it.
However, if you have Cricut Smart Iron-On vinyl, you can cut it without a mat.
But only if you’re cutting a piece that’s at least 6 inches long.
This is a great option if you don’t have a mat on hand or if you’re working with longer designs.
If you’re planning to cut shorter pieces or scraps of Smart Iron-On, you’ll still need to place them on the StandardGrip cutting mat.
Here’s the info on the best mat for iron on vinyl in more detail:
Cricut StandardGrip mat overview
The Cricut StandardGrip mat is a cutting mat that’s designed for use with Cricut cutting machines.
StandardGrip mats are compatible with all Cricut machines, including Explore, Maker, and Joy.
They are available in two sizes for the larger Explore and Maker machines — 12″ x 24″ and 12″ x 12″.
And in two sizes for Cricut Joy — 4.5″ x 6.5″ and 4.5″ x 12″.
Some Cricut machines even come already equipped with this mat.
However, if you’re planning to buy Cricut Explore 3 or Maker 3, you’ll need to purchase StandardGrip mats separately.
This is because these machines are capable of matless cutting with Smart materials.
So you can opt for using them without a mat (read more on this below).
The StandardGrip mat has a medium-strength adhesive that allows it to hold your project securely in place while it’s being cut.
The surface is not overly sticky.
This also makes it easy to remove iron-on vinyl, without damaging or tearing it.
The StandardGrip mat is designed for use with a variety of materials, including card stock, vinyl, iron-on, and more.
It comes in several sizes to fit different project needs and machines.
This mat can be cleaned and re-used multiple times.
Why do you need to use the right mat for iron-on vinyl?
Cricut actually recommends using the StandardGrip mat for cutting iron-on vinyl.
You always need to get a correct mat for your project.
Using a weaker mat, like the LowGrip one, can cause your material to shift during cutting.
So the machine can produce an uneven cut or even ruin your vinyl.
And if the mat is too sticky, like the StrongGrip one, it can be difficult to remove the project from the mat without damaging it.
Cricut Smart Iron-On vinyl matless cutting overview
Did you know that you can cut Cricut iron-on without a mat?
You will need Cricut Smart Iron-On vinyl and a Cricut Maker 3, Explore 3, or Joy.
Smart Iron-On is a special type of HTV vinyl that’s designed to work specifically with third-generation Cricut machines.
What makes it “smart” is that it has a special backing that allows you to cut your design with no mat.
This means that you won’t be limited by the length of the mat.
So you’ll be able to create longer designs and feed the vinyl roll directly into the machine.
Can I always cut Cricut Smart Iron-On without a mat?
You can cut Cricut Smart Iron-On without a mat if the piece is at least 6 inches long.
If your piece or scrap is shorter than 6 inches, its special backing won’t provide enough support.
And you won’t be able to feed it directly into the machine.
So you’ll need to place it on a StandardGrip mat for cutting.
This will help to keep the smaller piece in place during cutting.
So it won’t shift or wrinkle and you’ll get a more precise cut.
How to use the StandardGrip mat for cutting iron-on HTV vinyl
1. Prepare your design in Cricut Design Space
If you’re using a pre-made design, simply load it into the Design Space app and adjust the size as needed.
If you’re creating your own design, use Design Space’s tools to draw and write.
2. Place the vinyl liner side down on the StandardGrip mat
Align it with the top left corner and the grid lines of the mat.
Smooth it out with a brayer to get rid of wrinkles or air bubbles and to make sure it adheres to the mat securely.
3. Load the mat into your Cricut machine
Follow the manufacturer’s instructions to load the mat into your machine.
Let the rollers grip the mat and press the “Load” button.
Make sure the mat is aligned correctly and is placed securely in the machine.
4. Select your material and adjust the settings.
In Design Space, select the type of vinyl you’re using and adjust the cut settings accordingly.
If you’re unsure of the settings, refer to the manufacturer’s recommendations.
5. Cut your design
Press the “Go” button to start the cutting process.
Your machine will cut the vinyl according to the settings you’ve selected.
6. Unload the mat from your Cricut machine
Once your design has been cut, press the “Load” button again to release the mat from the machine.
7. Weed your design
Use a weeding tool to carefully remove the negative space from your design, leaving only the design itself on the liner.
8. Apply your design to your fabric or material
Once your design has been weeded, it’s ready to be applied to your fabric or material.
Use an iron or heat press to apply the vinyl to your material, following the manufacturer’s instructions for time and temperature.
And there you have it — a beautifully cut and applied vinyl design!
How to cut Cricut Smart Iron-On vinyl without a mat
1. Prepare your design in Cricut Design Space
If you’re using a pre-made design, simply load it into the Design Space app and adjust the size as needed.
If you’re creating your own design, use Design Space’s tools to create your art or text.
2. Select “Smart Iron-On” as your material type
In Design Space, select “Smart Iron-On” as your material type.
This will adjust the cut settings accordingly.
3. Load your Smart Iron-On vinyl into your Cricut machine
Feed the end of a whole roll of Smart Iron-On.
Or cut your vinyl into a piece that is at least 6 inches long, as this is the minimum length needed to cut without a mat.
Then feed this piece into the machine.
Make sure the vinyl is fed into Cricut and aligned properly.
The machine will sense it and will grip it.
4. Cut your design
Press the “Go” button to start cutting your project.
Your machine will cut the Smart Iron-On according to the settings you’ve selected.
5. Unload the vinyl from your Cricut machine
Once your design has been cut, select “Unload” in Design Space and gently pull the vinyl out of the machine.
6. Weed your design
Use a weeding tool to carefully remove the negative space from your design, leaving only the design itself on the liner.
7. Apply your design to your fabric or material
Once your design has been weeded, it’s ready to be applied to your fabric item or other material.
Use an iron or heat press to apply the vinyl to your final project, following the manufacturer’s instructions for time and temperature.
Now you’re done with cutting Smart Iron-On vinyl without the use of a mat!
Can I use the StrongGrip mat for iron-on vinyl?
No, the StrongGrip mat may be too sticky for vinyl.
So it may cause your iron-on to tear, or it will be very difficult to remove from the mat.
Can I use a LightGrip mat for iron-on vinyl?
No, a LightGrip mat may not provide enough grip for iron-on vinyl and may cause the material to shift during cutting.
How often should I replace my StandardGrip mat when using it for iron-on vinyl?
Try replacing your StandardGrip mat every 25–40 uses or when it starts to lose its stickiness.
Can I cut iron-on vinyl using a Cricut Joy machine?
Yes, you can cut iron-on vinyl with a Cricut Joy machine using the Joy-sized StandardGrip cutting mat.
The Cricut Joy machine is also compatible with Smart Iron-On for cuts up to 4.5 inches wide and up to 20 feet long.
To wrap up, the Cricut StrlandardGrip mat is a great choice for those who want to work with iron-on vinyl.
It provides the necessary grip and stability to ensure that the vinyl stays in place during the cutting process.
With proper care and maintenance, the mat can last for multiple uses and projects.


